Mar 5, 2025
How to Add a Like Button in Webflow Using Jetboost
Today, we're diving into a step-by-step guide on how to add a like or favorite button to your Webflow project. While Webflow doesn’t come with this feature out of the box, we can easily implement it using a powerful third-party tool called Jetboost. This feature can be applied to both e-commerce collections and regular CMS collections, making it versatile for various types of content, be it product listings, blog posts, or job listings. Let’s get started!
Setting Up Jetboost
First things first, let’s set up Jetboost. Jetboost is a free tool until you publish your website, after which a subscription is required. To kick things off, you need to connect your Webflow account with Jetboost. Once you create your Jetboost account, simply click “Reconnect with Webflow.” After that, you’ll see your sites listed. For our demonstration, we’ll be working with a site called "like/favorite demo."
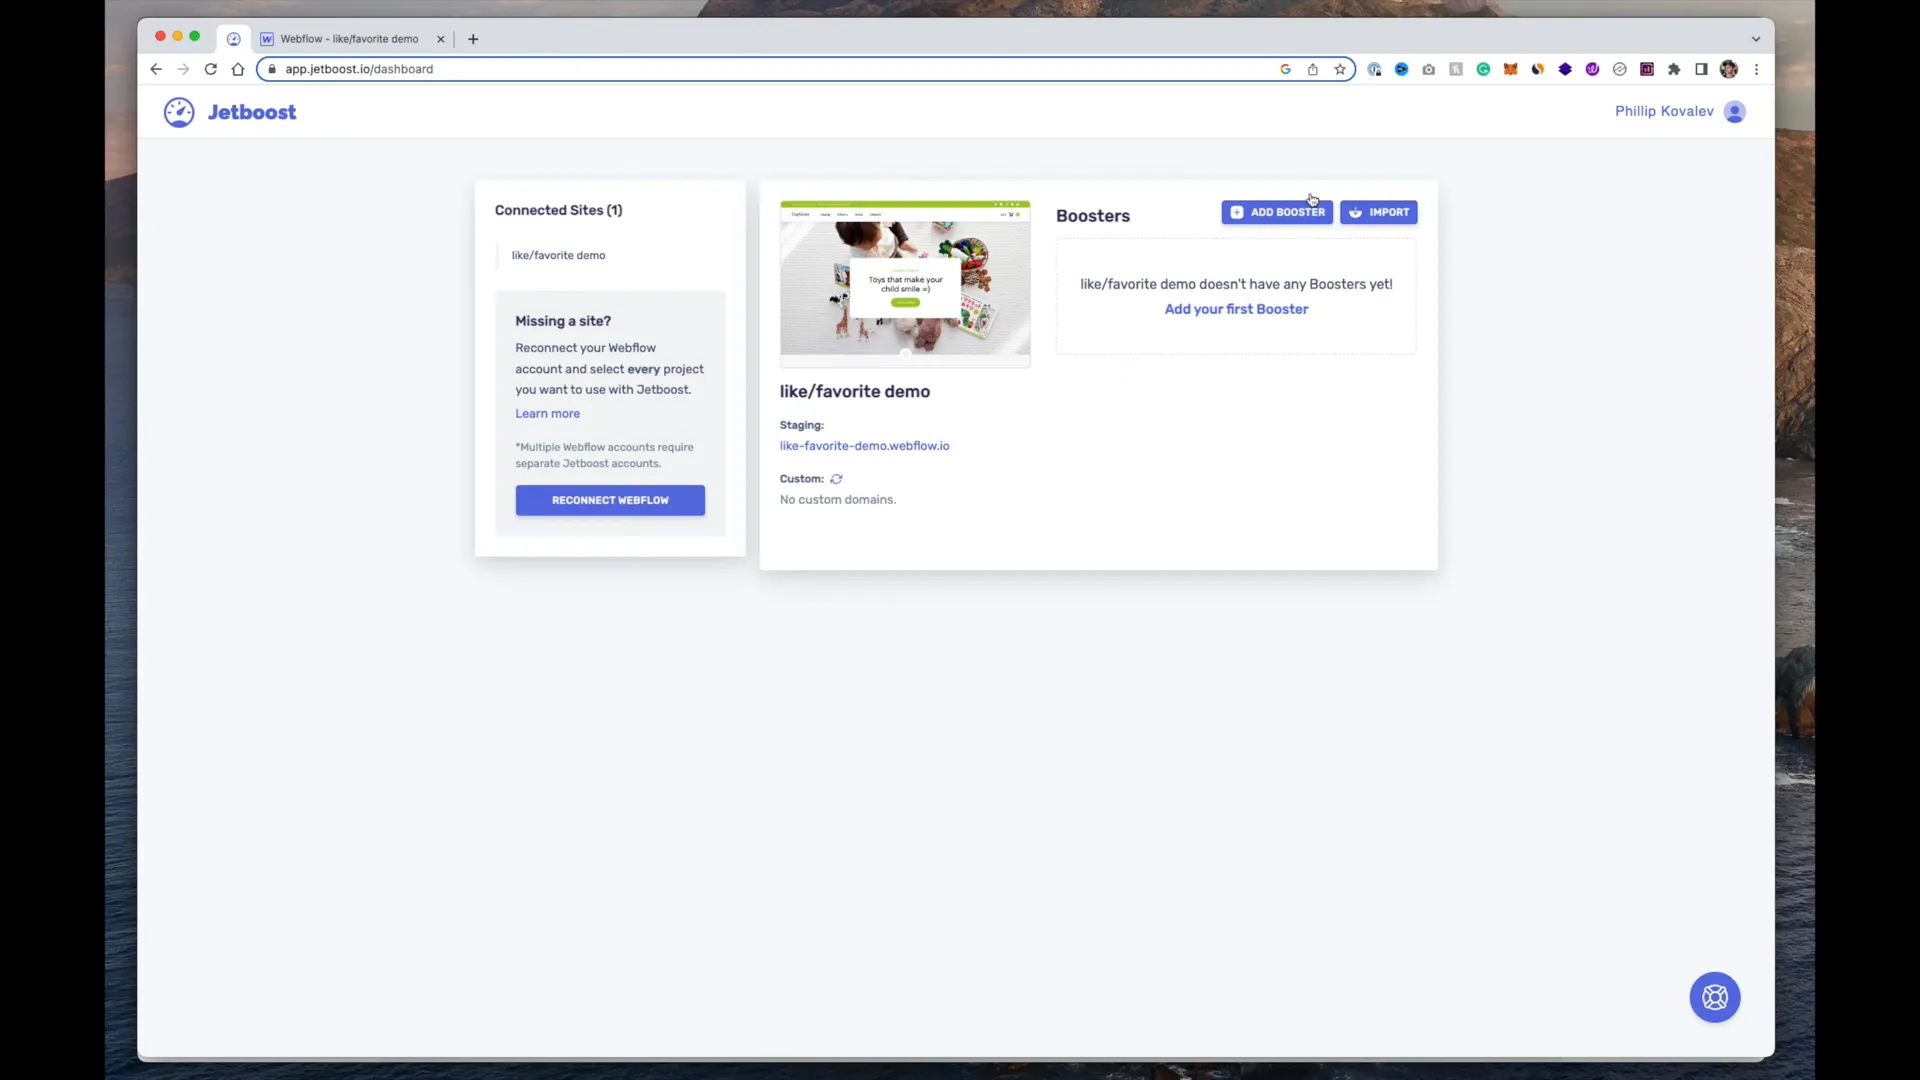
Once you're in, click on "Add Booster." Jetboost offers several upgrades for your site, such as real-time search, dynamic sorting, and CMS lightboxes. The feature we’ll focus on today is the "Favorite CMS items." Select it and click "Create." Jetboost will guide you through a five-step process to set up the favoriting feature.
Choosing What to Favorite
The first step is to decide what items you want to enable for favoriting. In our case, we’ll be favoriting products. If you have a standard collection list, select that instead. The next step involves selecting a field to store the total number of times an item has been favorited. For this, you’ll need to create a custom field in your product settings.
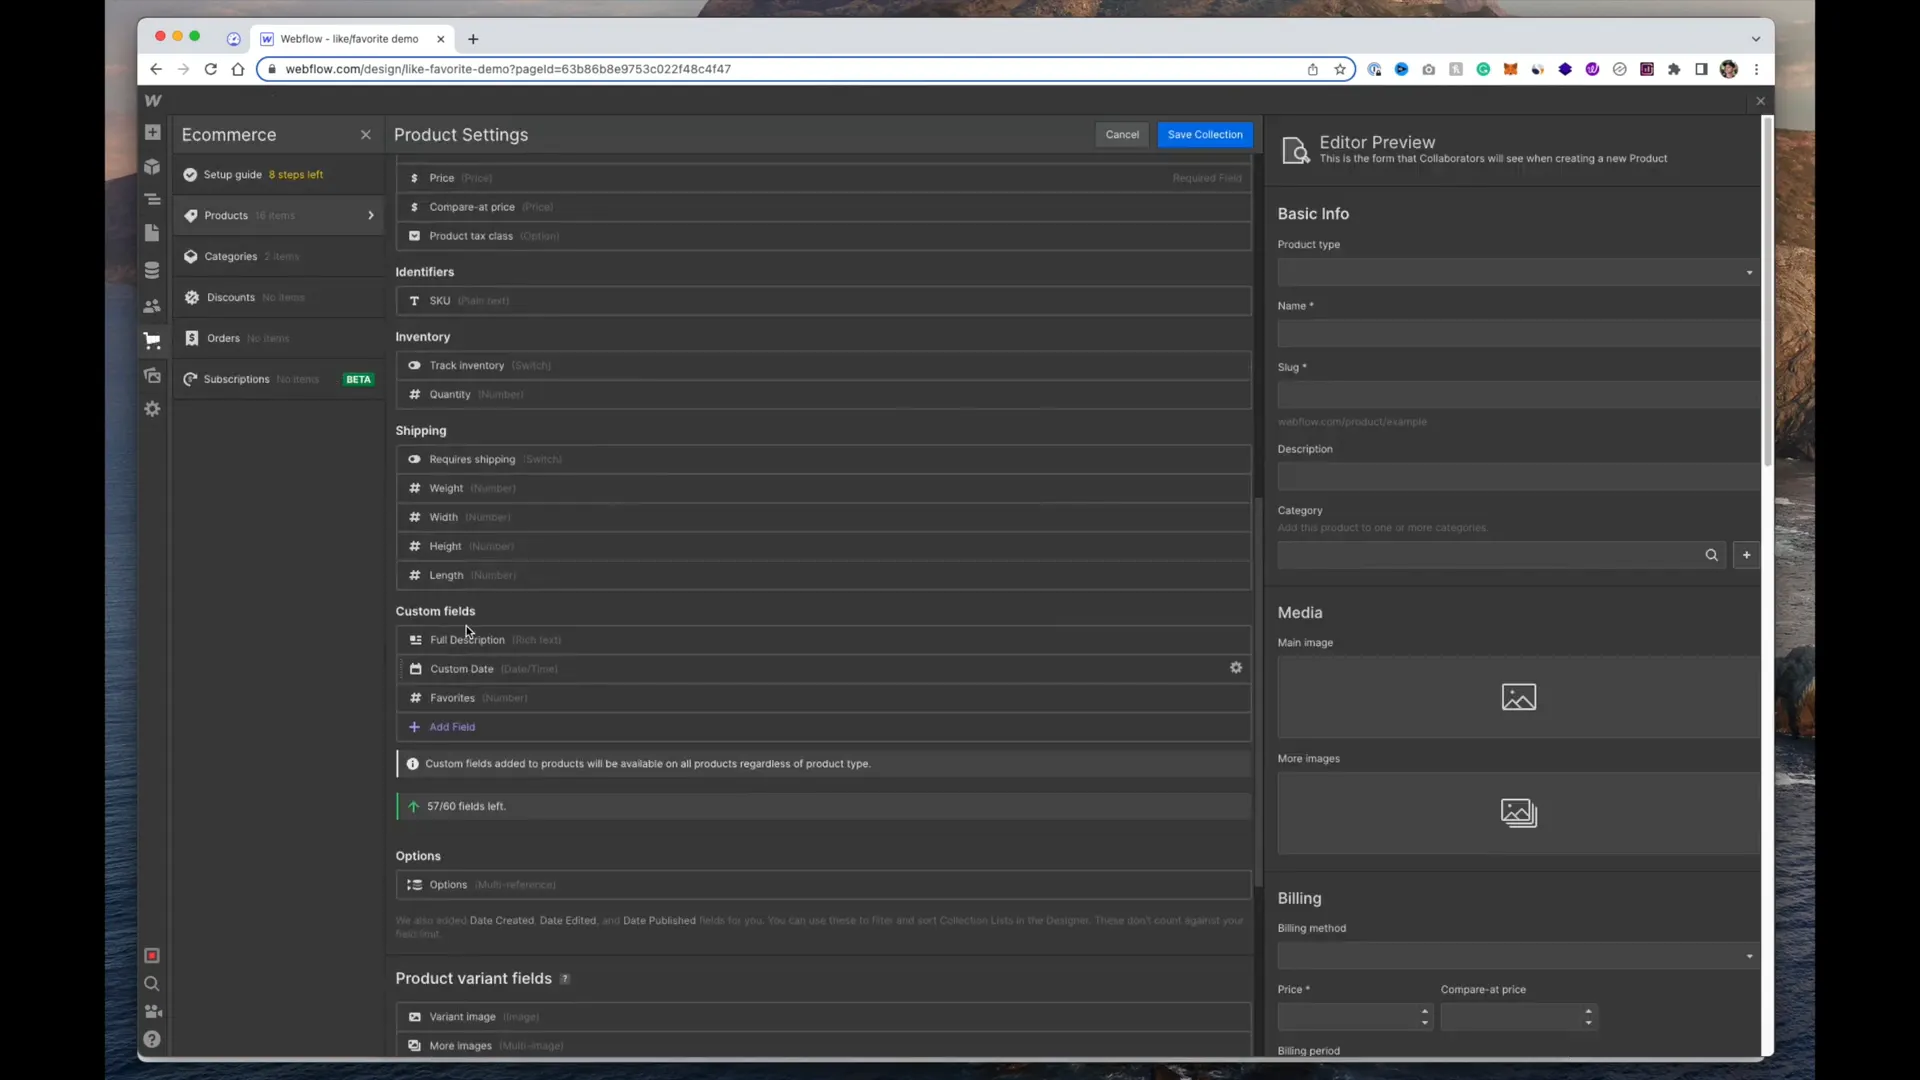
I recommend naming this field "favorites" or "likes." This will help you track which items are popular among your users. After this, the next question is whether you are using a membership platform. We are not, so we will click "Continue."
Setting Up the Like Button
Now, let’s set up the actual like button. This step shows you how to configure the button for the product page, single listing page, or collection. We want the like button to appear multiple times on all products.
To begin, you need to add a specific class to the collection list item. Copy the class name provided by Jetboost, go to the Webflow editor, select your collection list, and paste the class into the top collection item. This completes our first step.
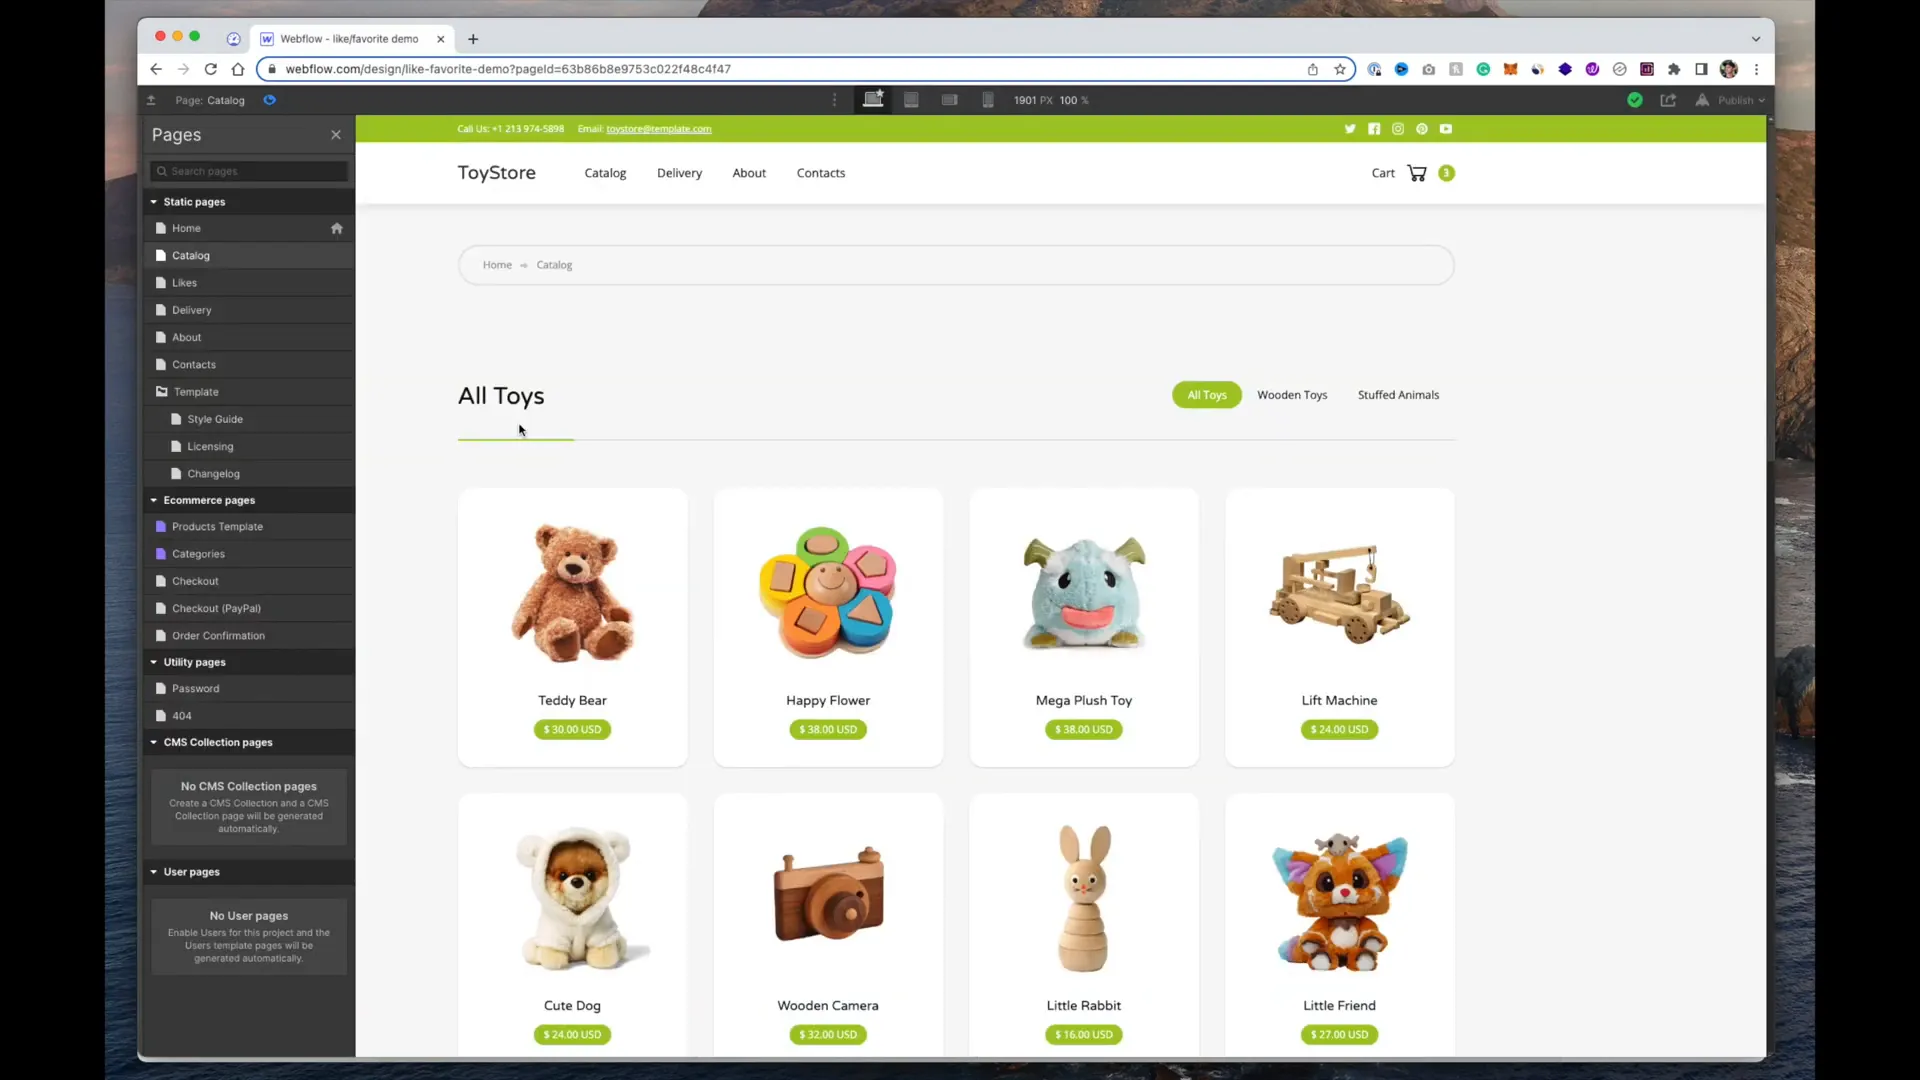
The next step is to add an embed code within the collection product. Click inside the product element, select "Embed," and paste the provided code. You can find the embed option by clicking the elements button (A) on your keyboard or using the shortcut Command + K.
Creating the Like Button Structure
After embedding the code, we need to create a div that wraps everything together. The structure should include a main div, a line of text, and two items that indicate whether the item is favorited or not. Jetboost uses specific class names to manage these states, so make sure you copy them correctly.
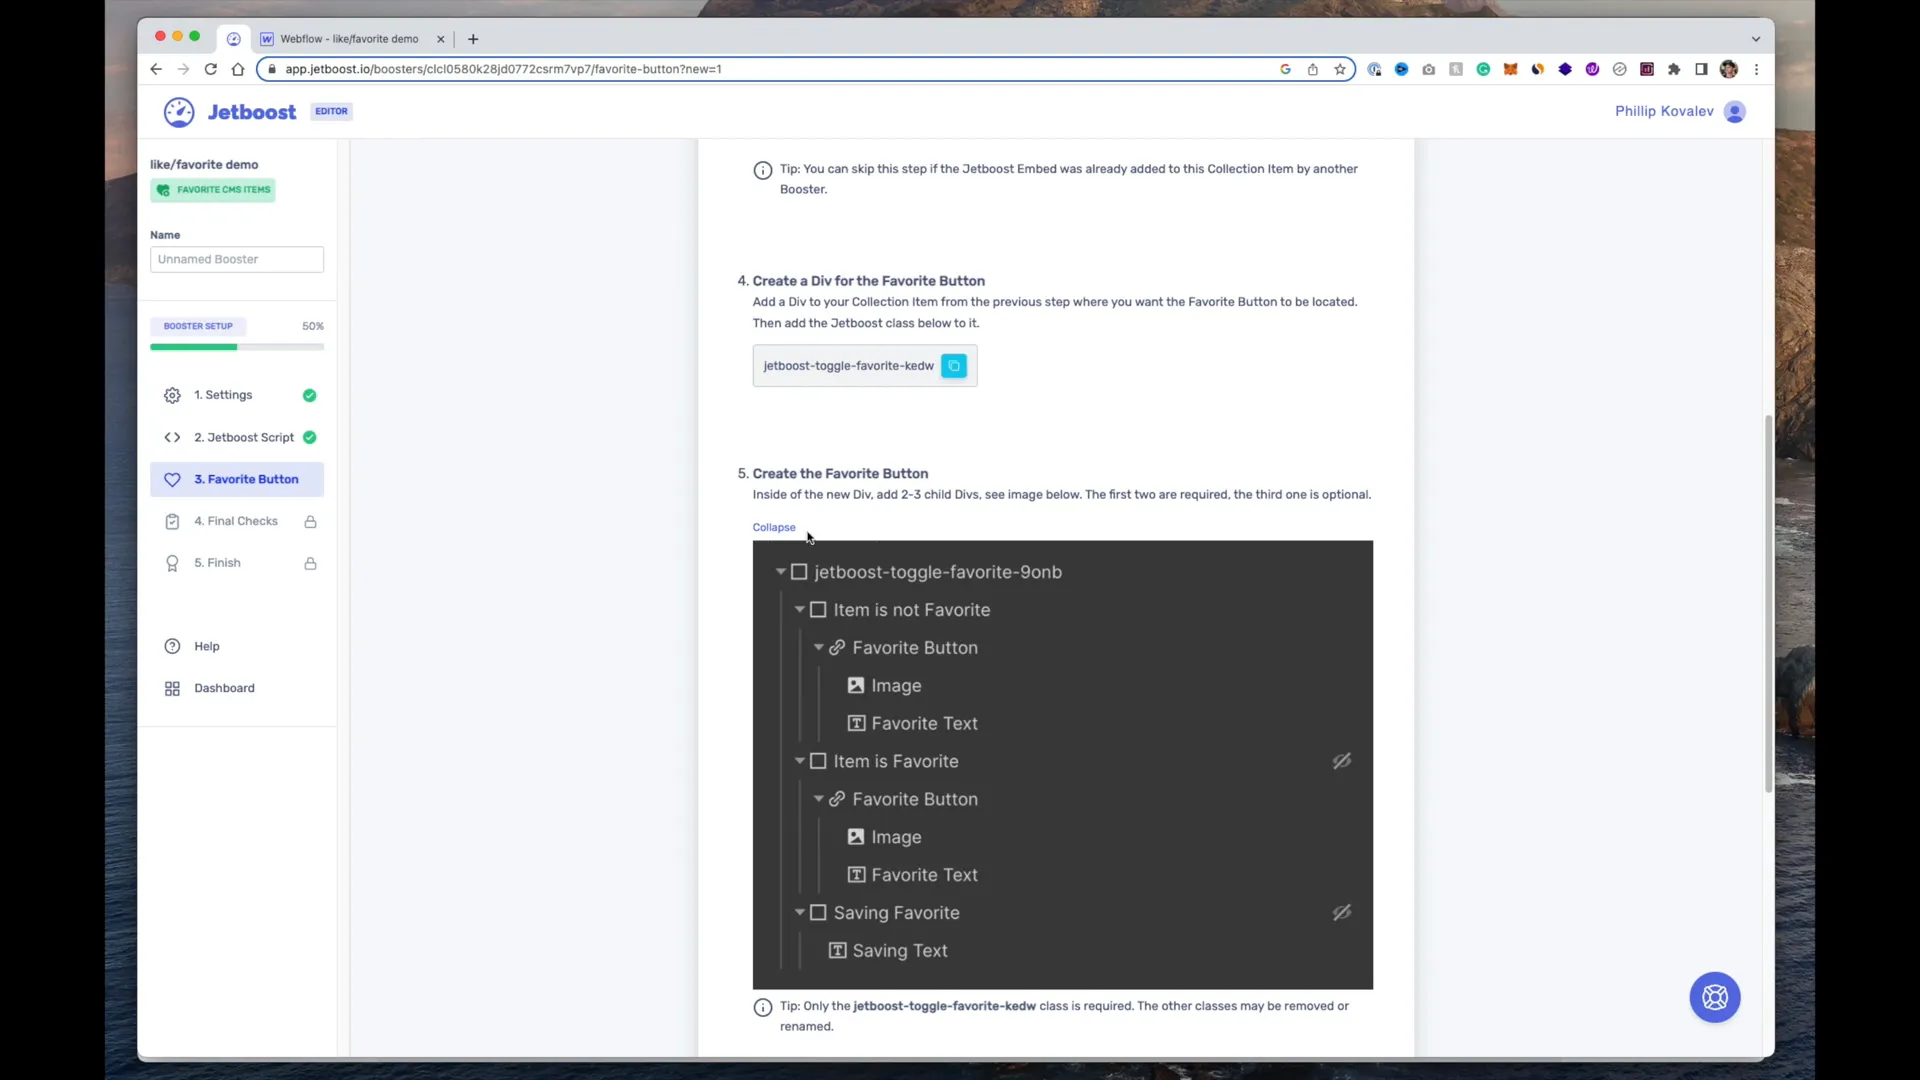
Inside this div, create two more divs for the "item is not favorited" and "item is favorited." You can add buttons for "Like" and "Unlike" within these divs. The styling is up to you, but ensure you maintain the class names that Jetboost requires.
Testing the Like Button
Once you have set everything up, publish your site. This allows Jetboost to detect the changes. After publishing, you can preview your products by entering the URL in the provided field. You should see your products with the like button functioning properly, allowing toggling between the liked and unliked states.
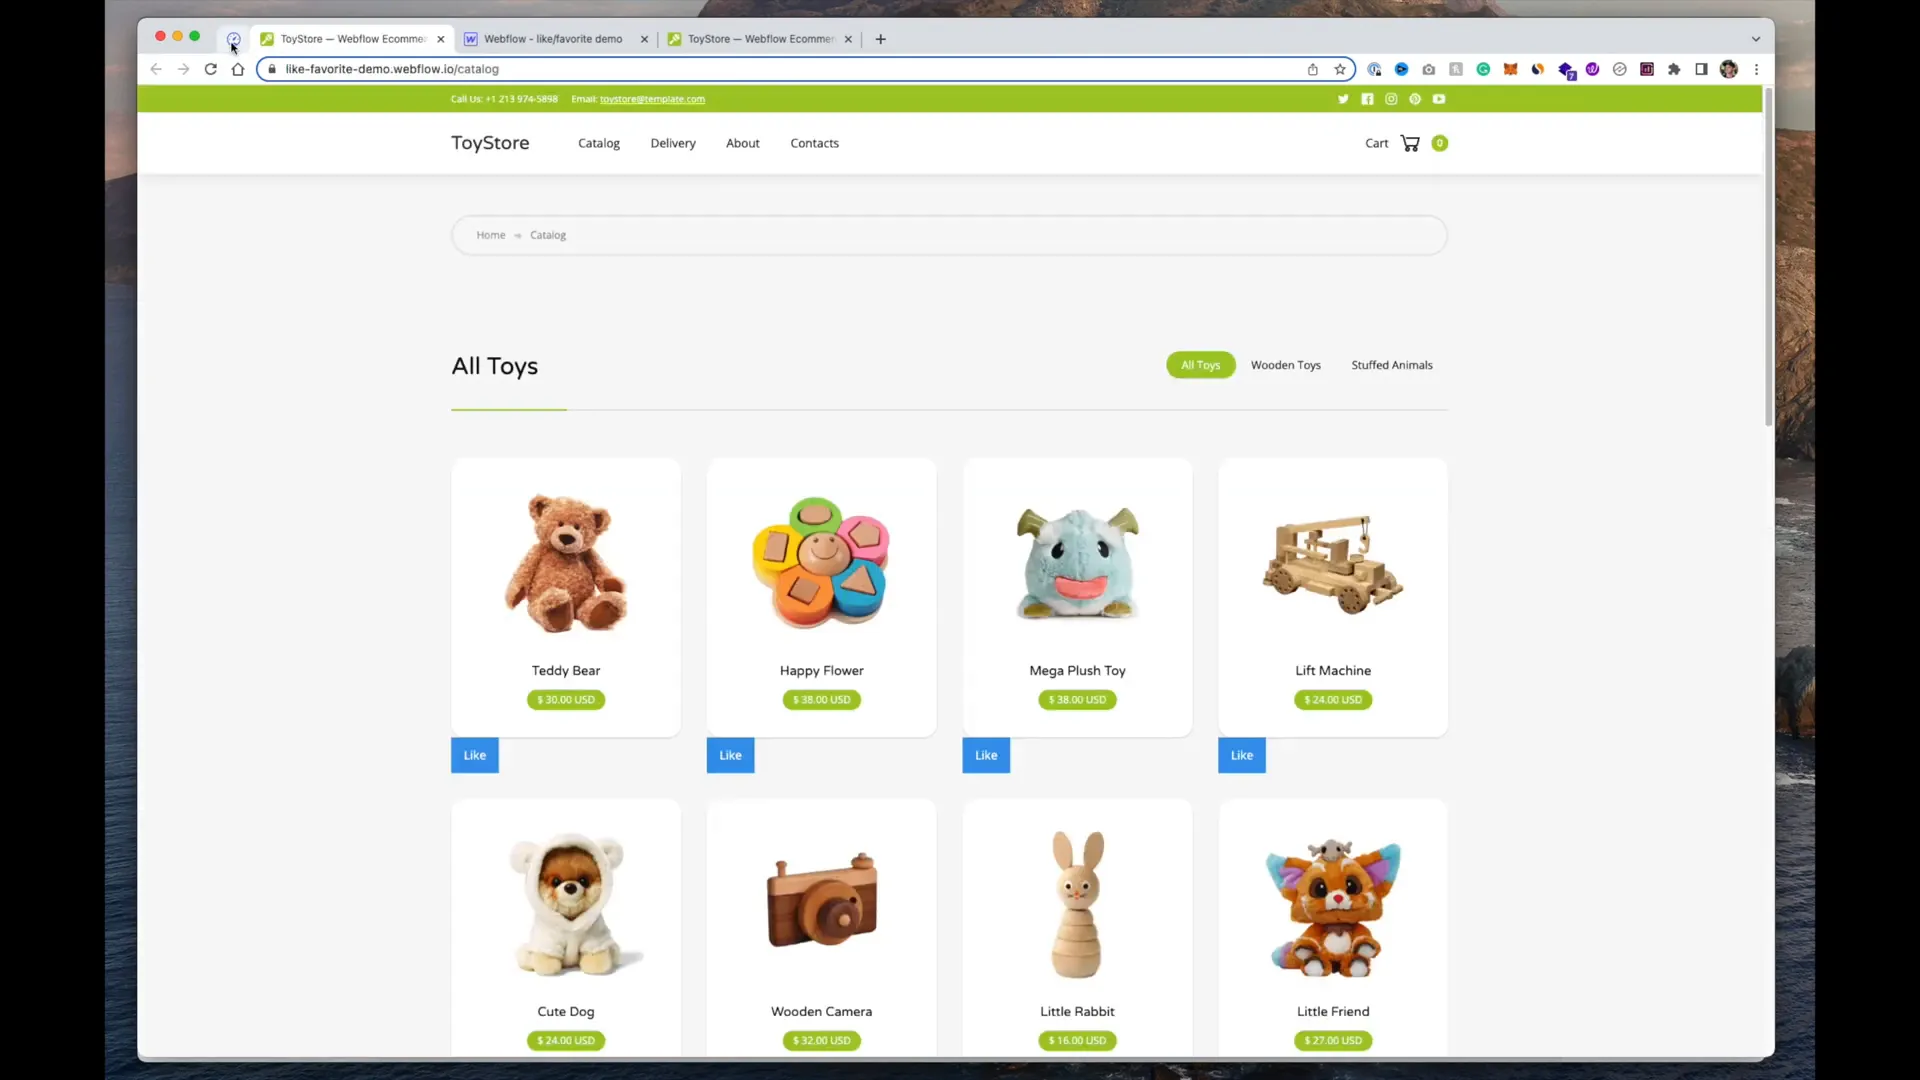
If it’s not working, double-check that you clicked "Finish" after applying all steps. This step is crucial; I encountered issues because I missed this step, so don’t overlook it!
Adding Like Button to Product Pages
Next, let’s add the like button to individual product pages. Head to the section where you create the favorite button. You can copy the structure you made earlier and paste it into the product template page, placing it next to your other buttons.
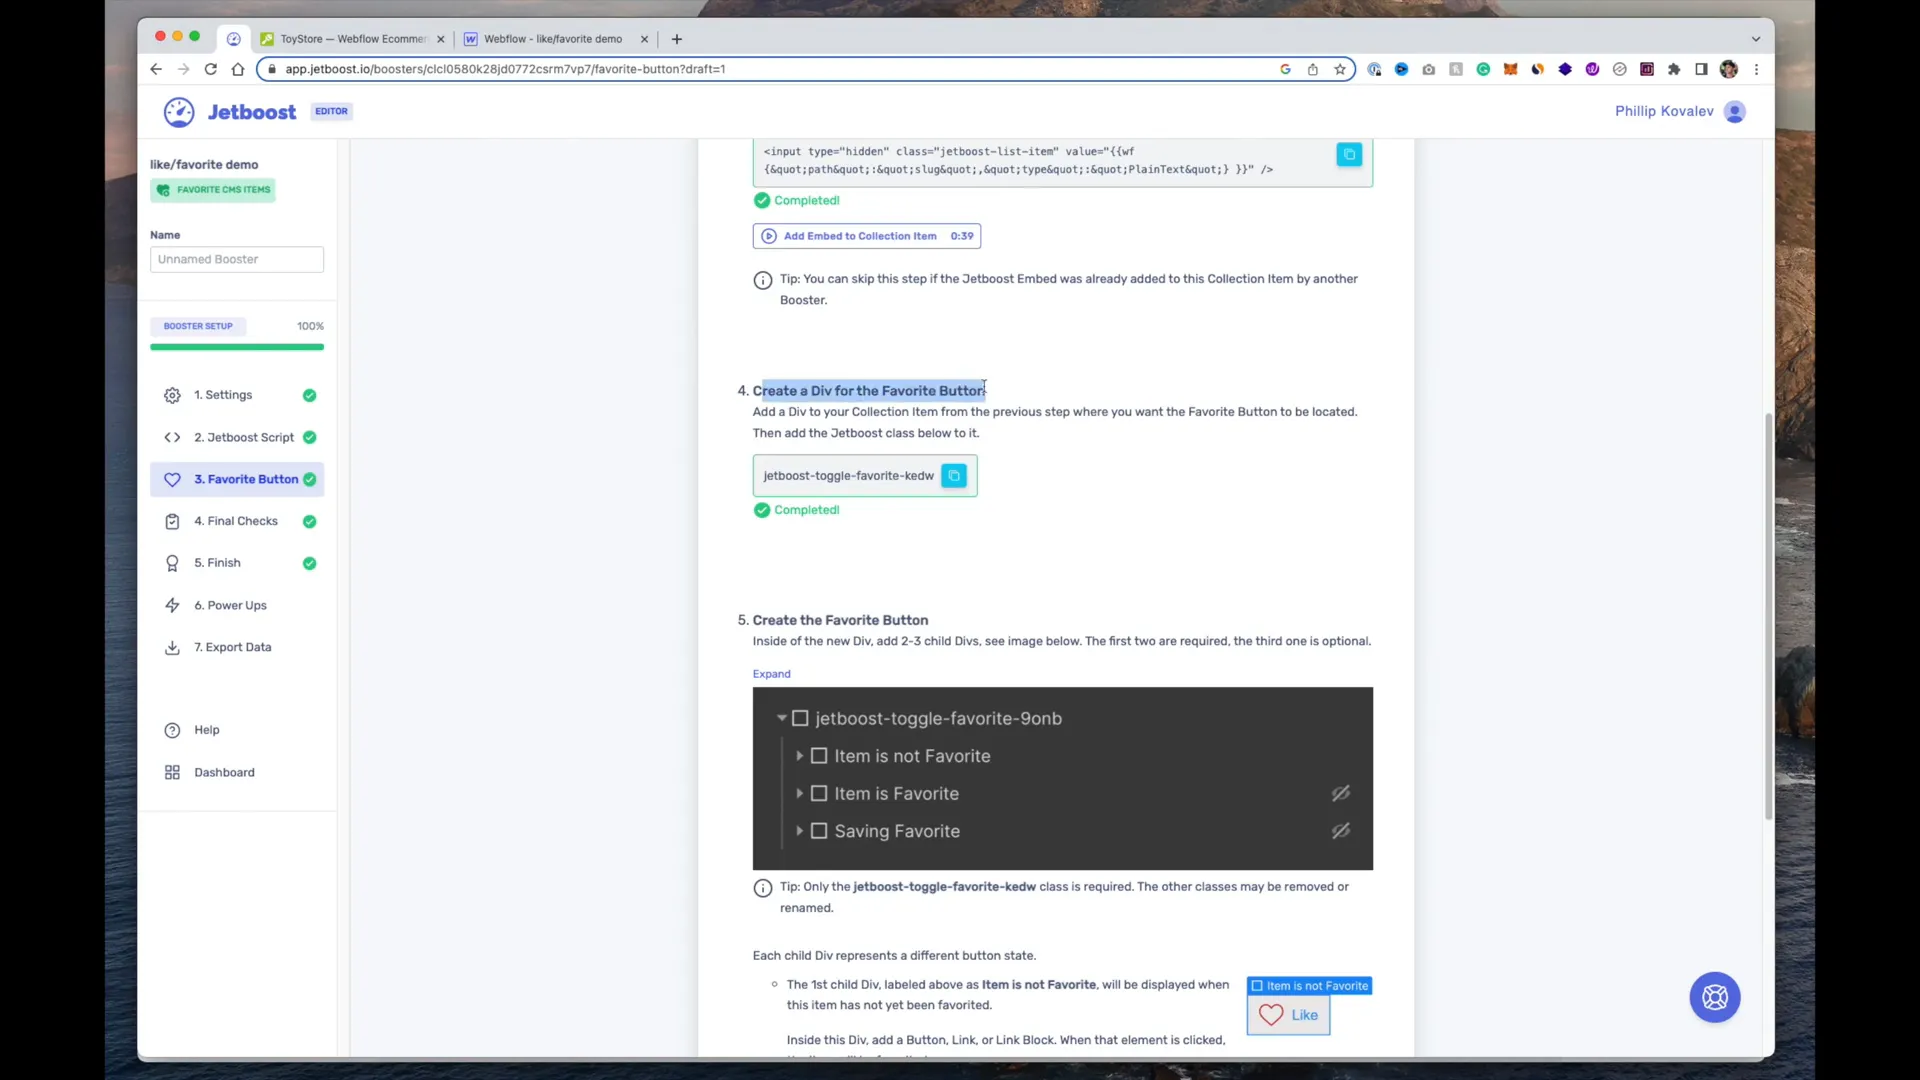
Once pasted, publish your site again to see the changes. Navigate to a product, and you should see the like button functioning as expected. This feature works for all products you have set up.
Creating a Likes Page
To view a list of all liked items, you'll need to create a separate "Likes" page. You can copy your existing CMS collection into this new page. Now, it’s time to add the necessary functionality to display favorites.
Go back to Jetboost and navigate to "Power-Ups." Select "Favorites List," and Jetboost will guide you on how to display your previous favorites. Create a div block for the favorites list and wrap your collection inside this div. Ensure it has the class name "jet boost favorites list."
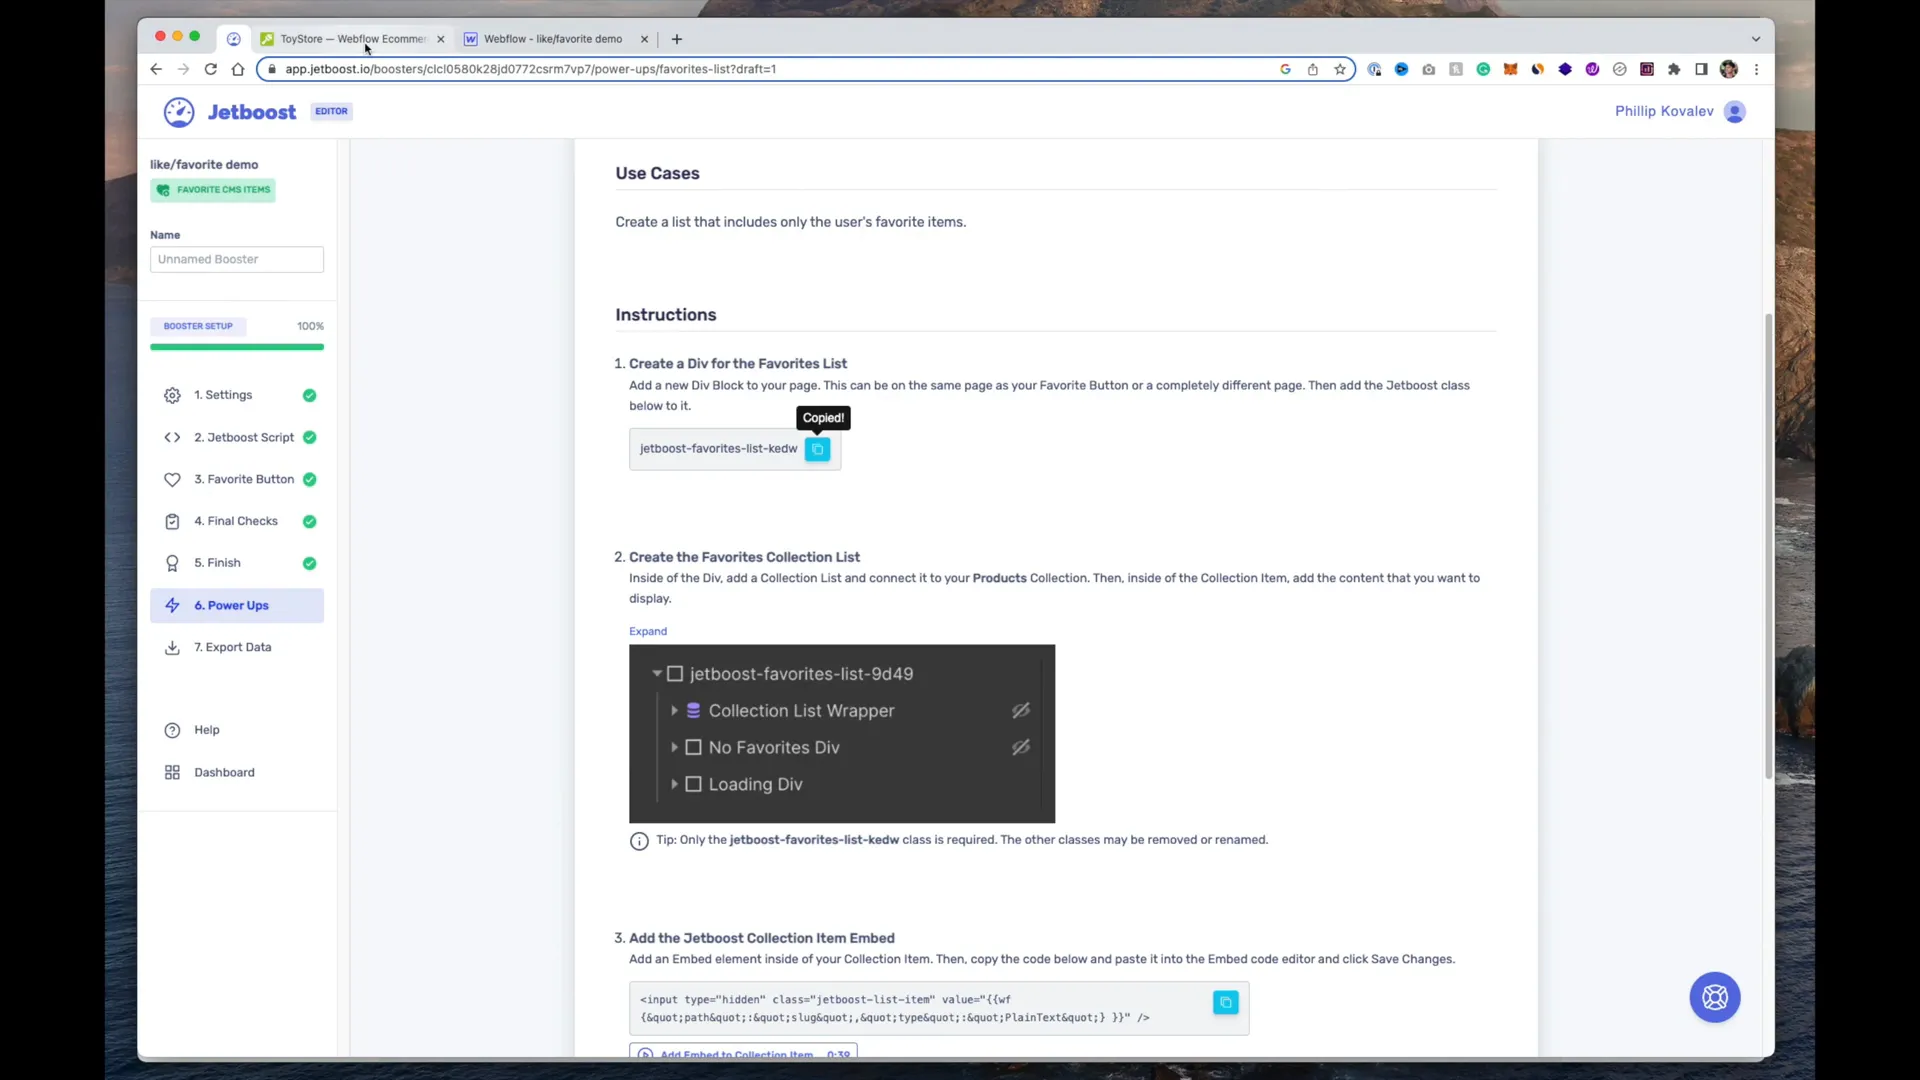
Next, you will need to include the embed code again. This code should be similar to what you used for your product page. Once everything is in place, publish your site again to see your likes page with the list of favorite items.
Final Touches and Troubleshooting
After publishing, check your likes page. You should see all the products you’ve liked. Clicking on a product will show the unlike button, allowing you to toggle favorites. If you encounter any glitches, it may be due to CSS styling, but generally, it should work smoothly.
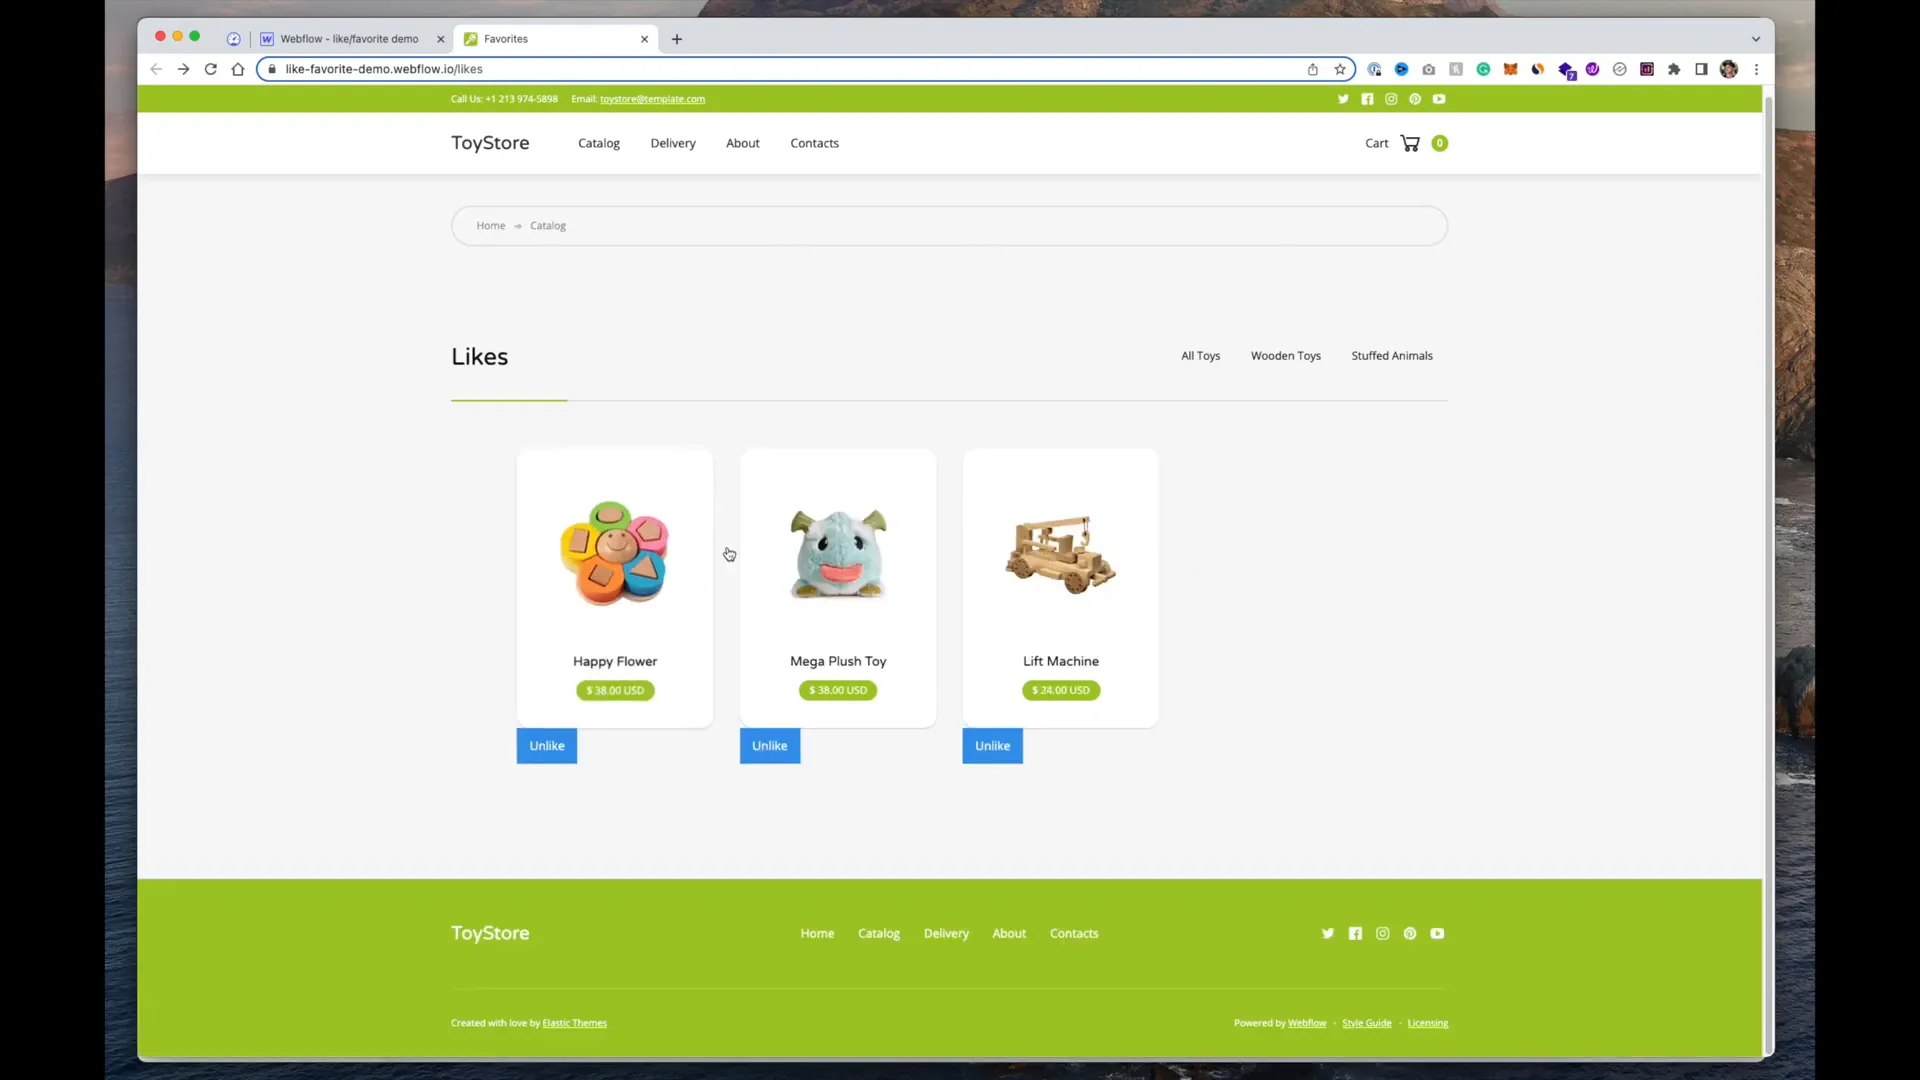
And there you have it! You now have a fully functional like button integrated into your Webflow project using Jetboost. This feature enhances user interaction and allows you to track what content your audience loves the most. If you’re interested in trying out Jetboost, check out their website for the best pricing options.
Feel free to leave any questions in the comments below. Happy building!