Mar 5, 2025
Installing WordPress on DigitalOcean: A Comprehensive Guide
Hey everyone! I’m Phillip from Cobra Labs, and today we’re diving into the world of web hosting by setting up WordPress on DigitalOcean using their One-Click Install feature. This guide will walk you through each step, ensuring you can create your own site with ease.
Why Choose DigitalOcean?
DigitalOcean is one of the best options for affordable web hosting solutions. For just $5 a month, you can enjoy fast web speeds along with a simple and intuitive interface. Whether you’re a seasoned developer or just starting out, DigitalOcean offers a range of services tailored to your needs.
Getting Started with DigitalOcean
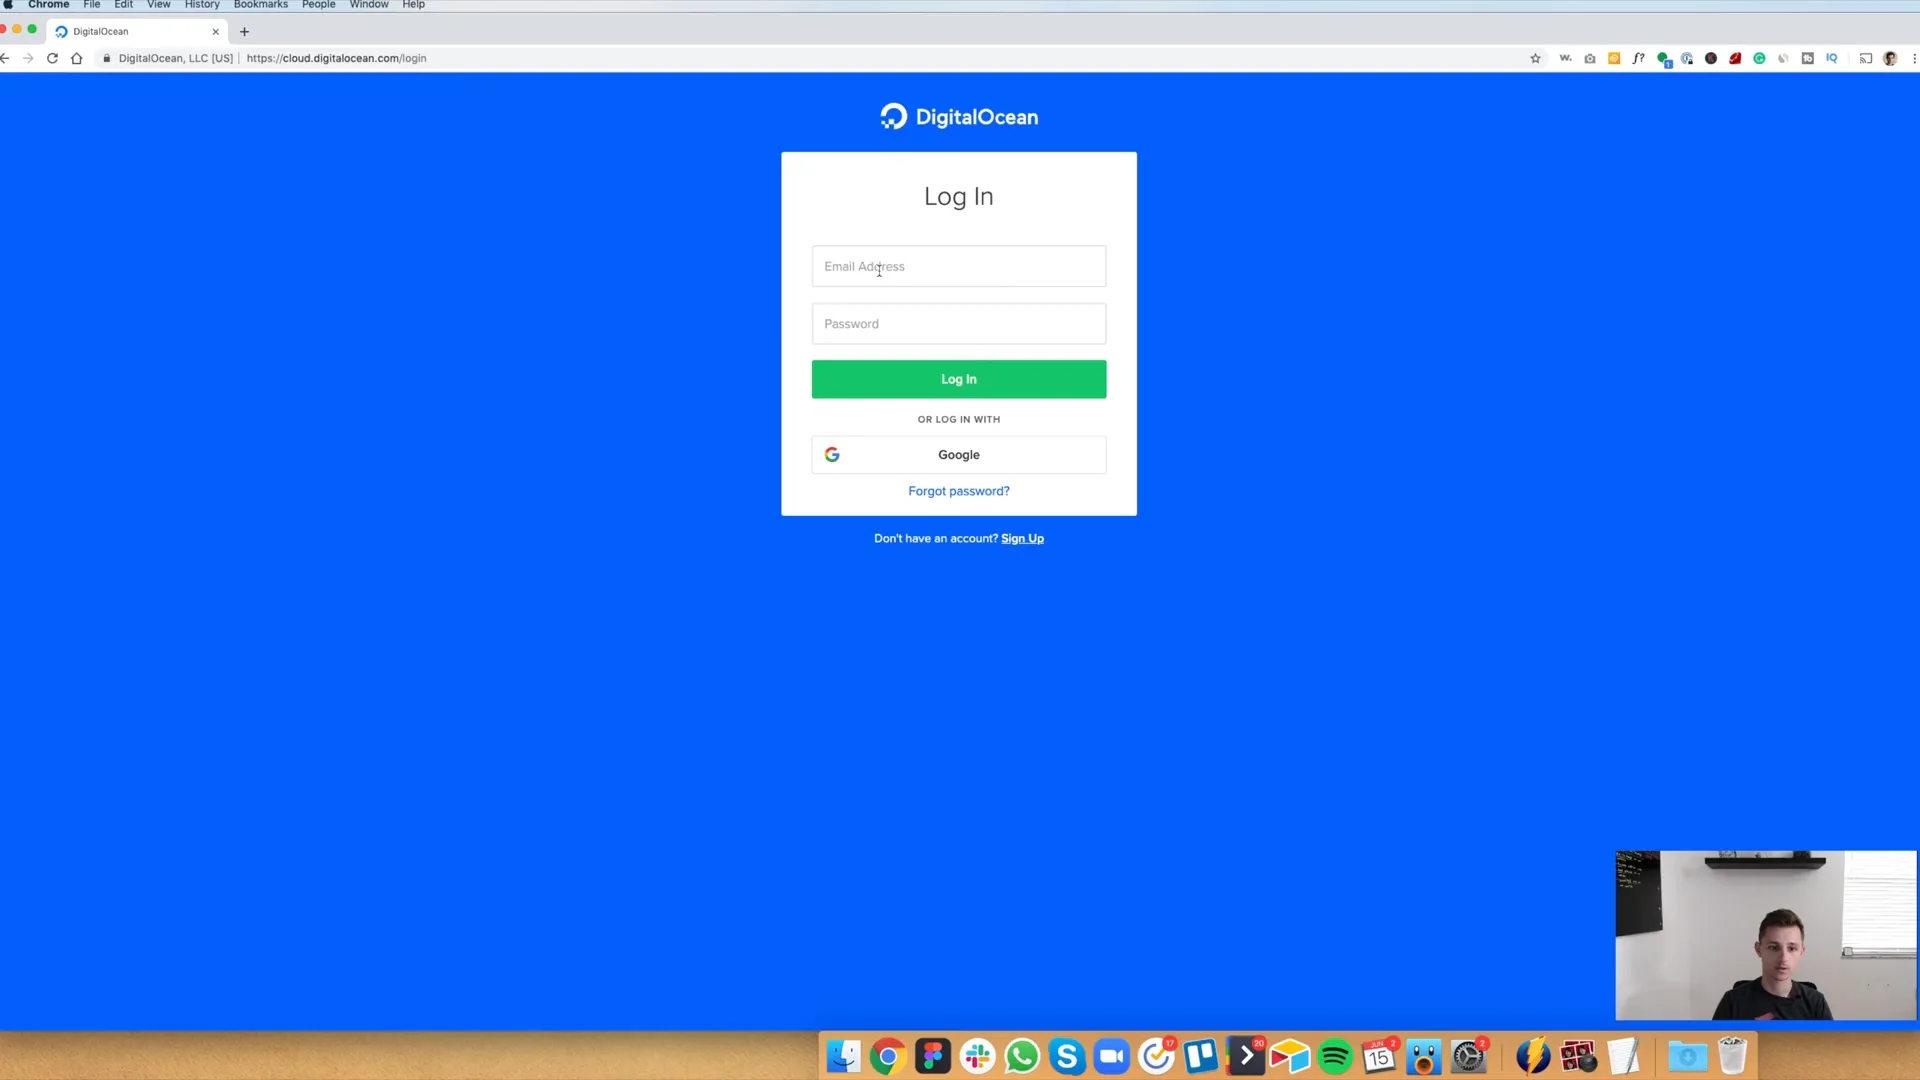
First things first, you’ll need to create an account on DigitalOcean. Head over to DigitalOcean's website and either log in or sign up if you’re new around here.
Creating a New Project
Once you log into your dashboard, you may see some existing projects. If you don’t have one, create a new project for your site. Let’s name ours “Cova Labs.” Adding a description is optional, and for the purpose of this guide, we’re simply setting up a website or blog.
Setting Up Your Droplet
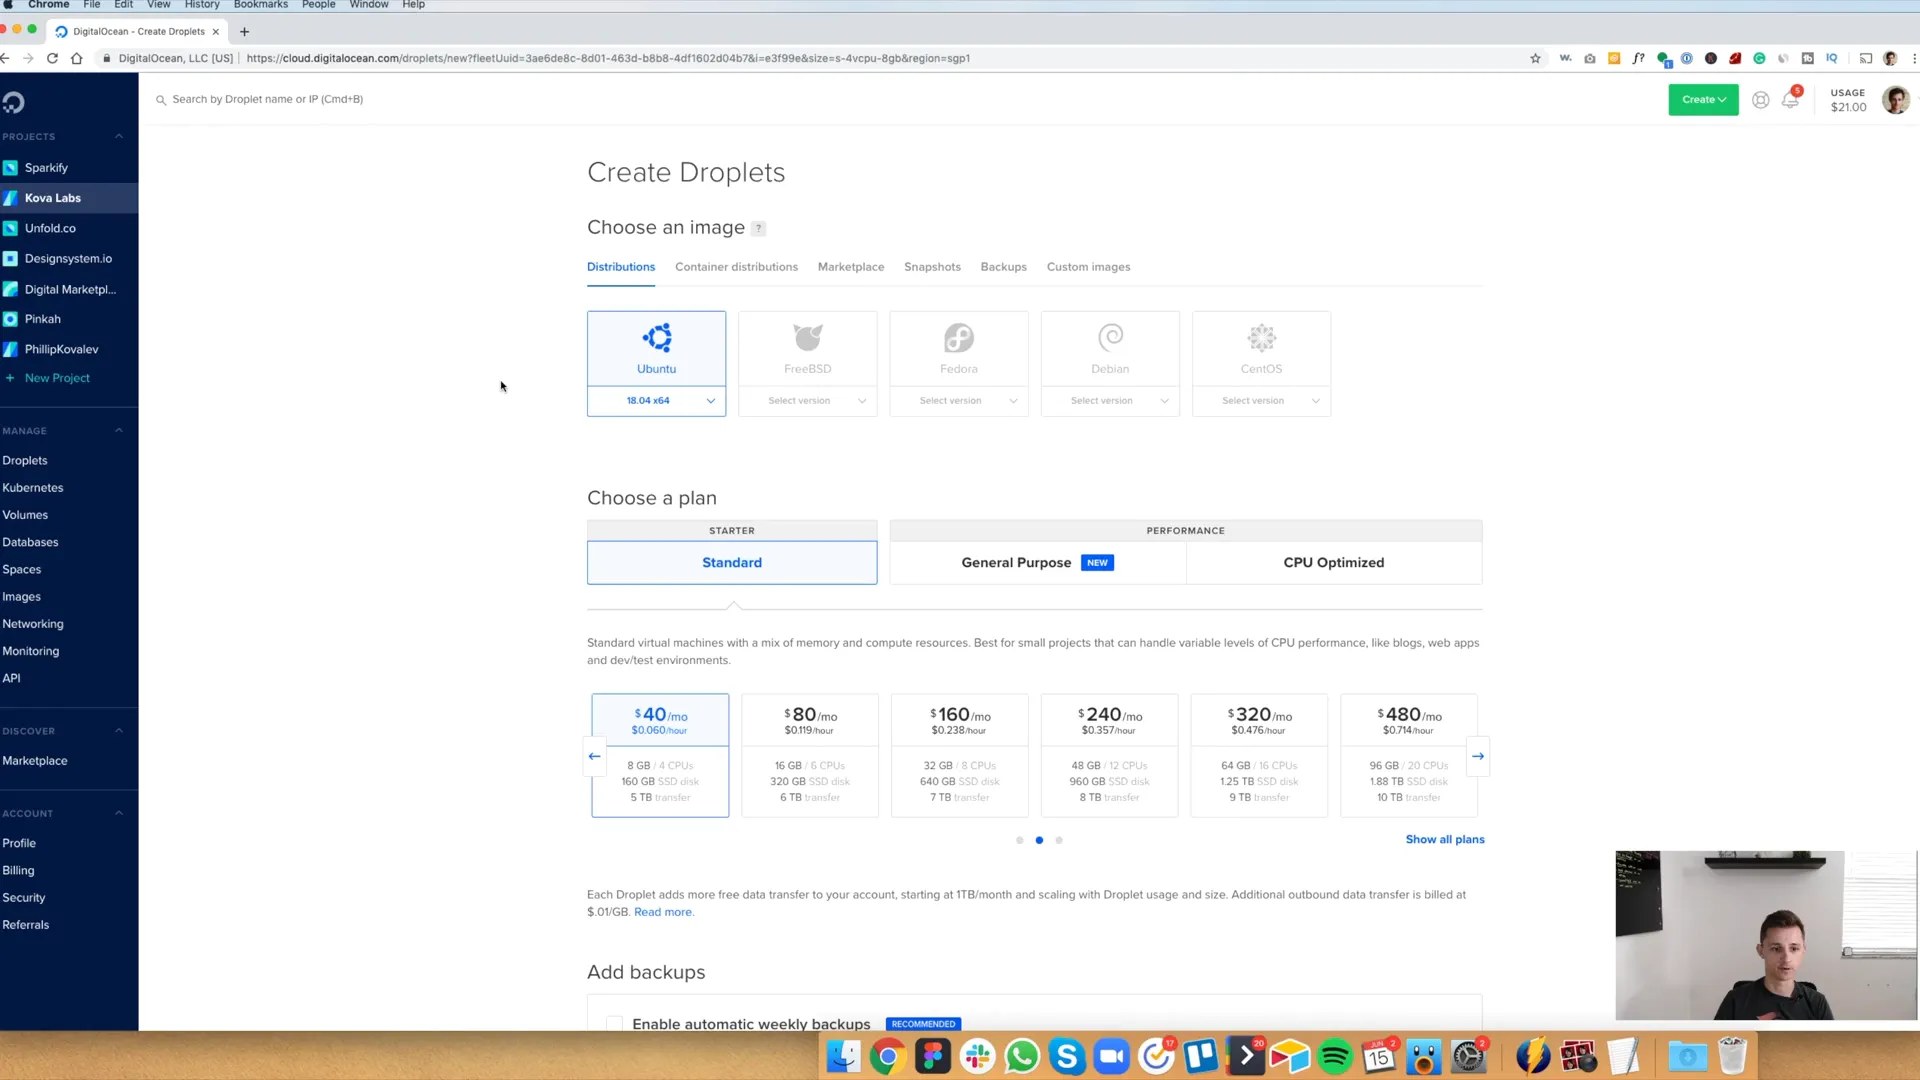
Next, we’ll get started with a droplet. A droplet is essentially a virtual server on DigitalOcean. Click on the “Create” button, then select “Droplets.”
Using the One-Click Install Feature
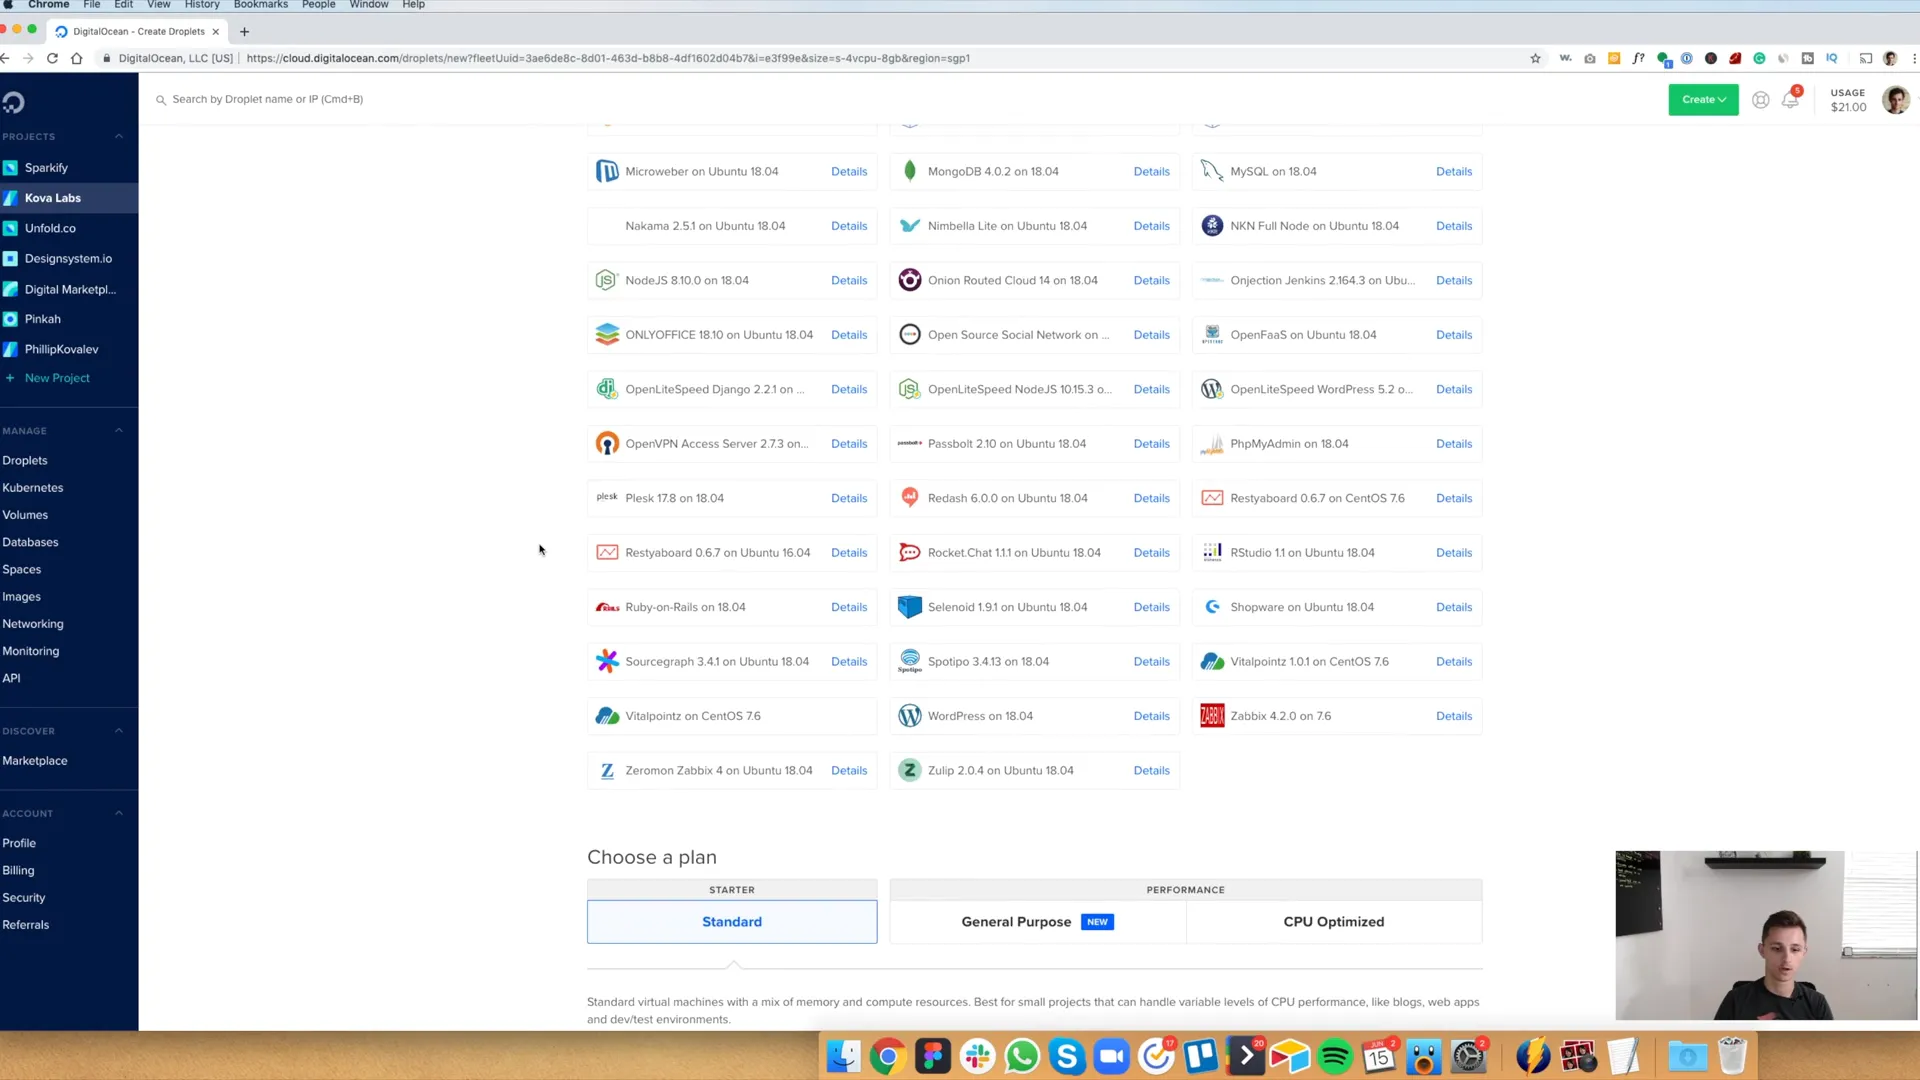
To install WordPress, navigate to the “Marketplace” tab. Here you'll find various software options. Click on the WordPress button, which is currently version 18.04.
Choosing Your Plan
Now, let’s choose a plan. For our purposes, we’ll select the standard plan, specifically the cheapest option at $5 a month. This plan is perfect for new sites and has proven to be fast and efficient.
Server Location
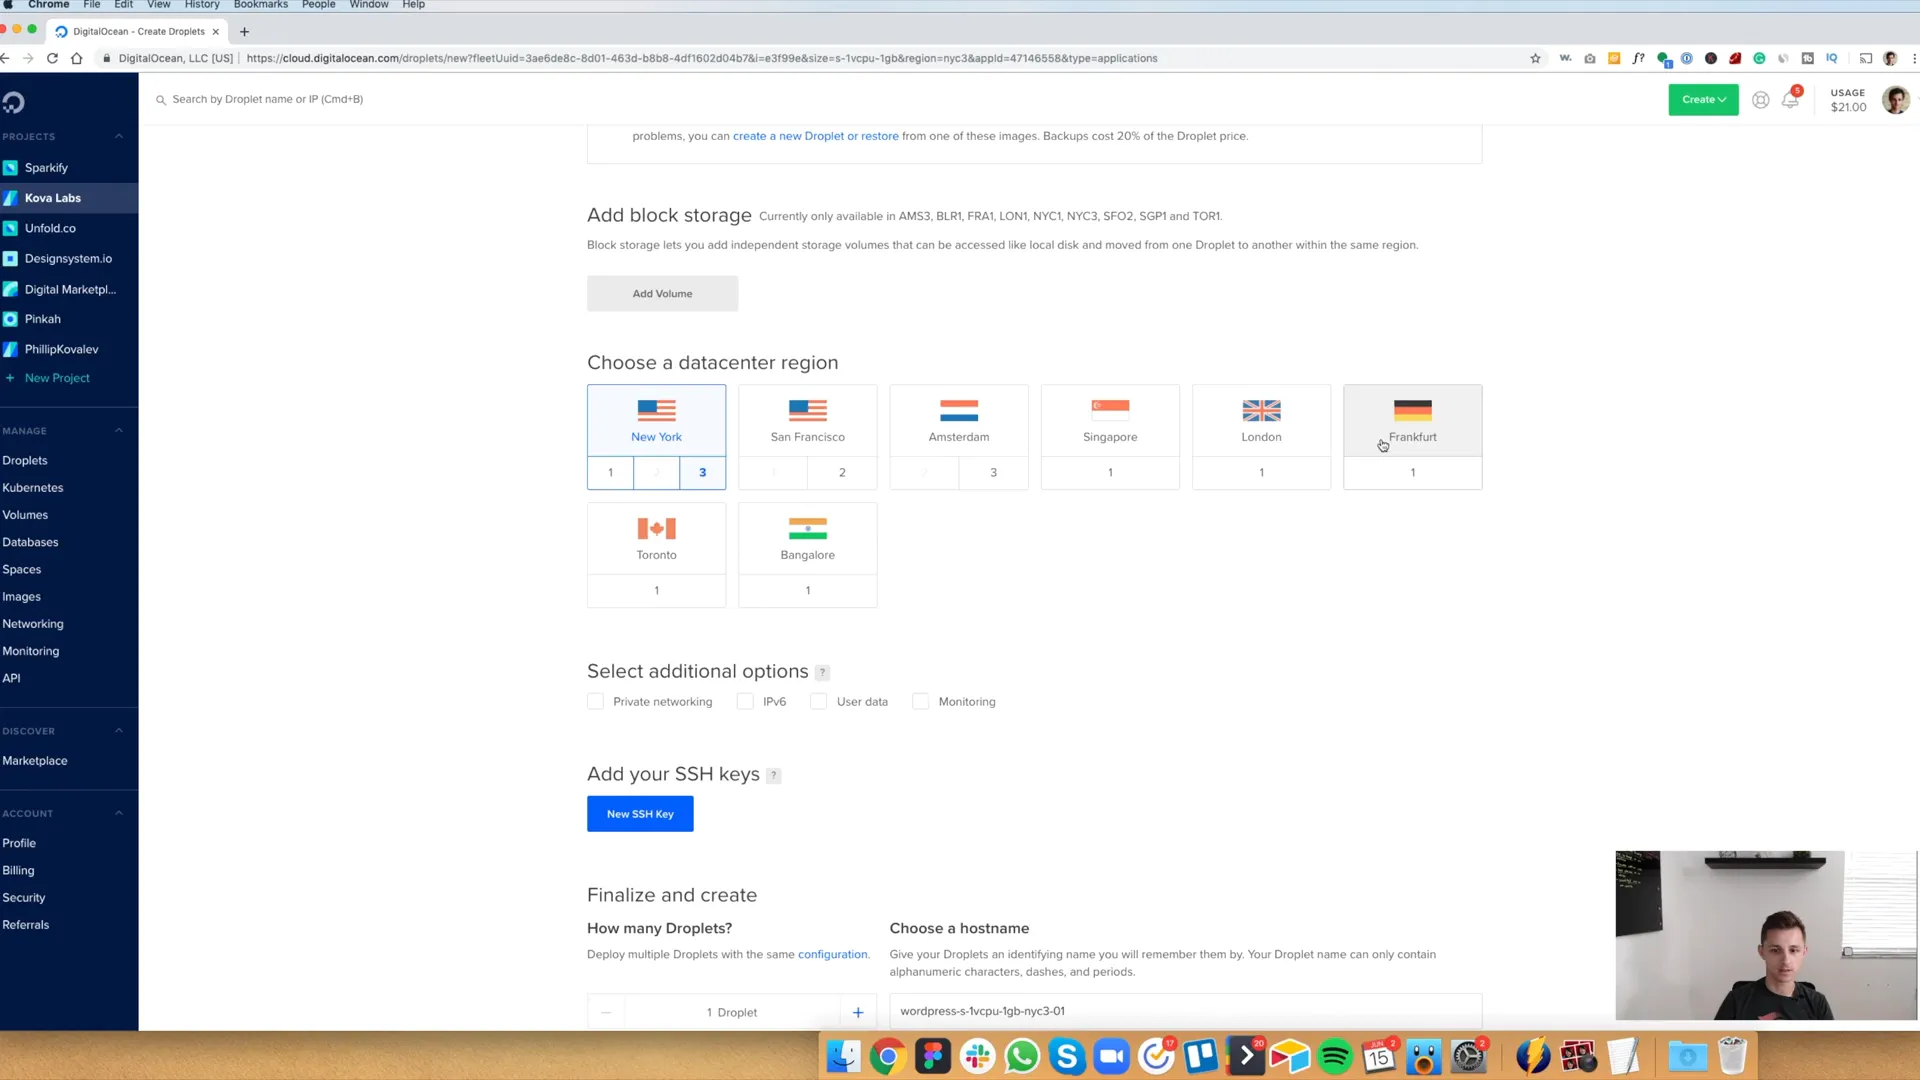
When selecting a server location, pick one that’s closest to your target audience to minimize latency. If you’re outside the U.S., choose accordingly.
Hostname and Tags
For the hostname, simply enter “Cova Labs.” Tags are not necessary at this stage. Once you’ve filled in the details, hit the “Create Droplet” button.
Accessing Your New Droplet
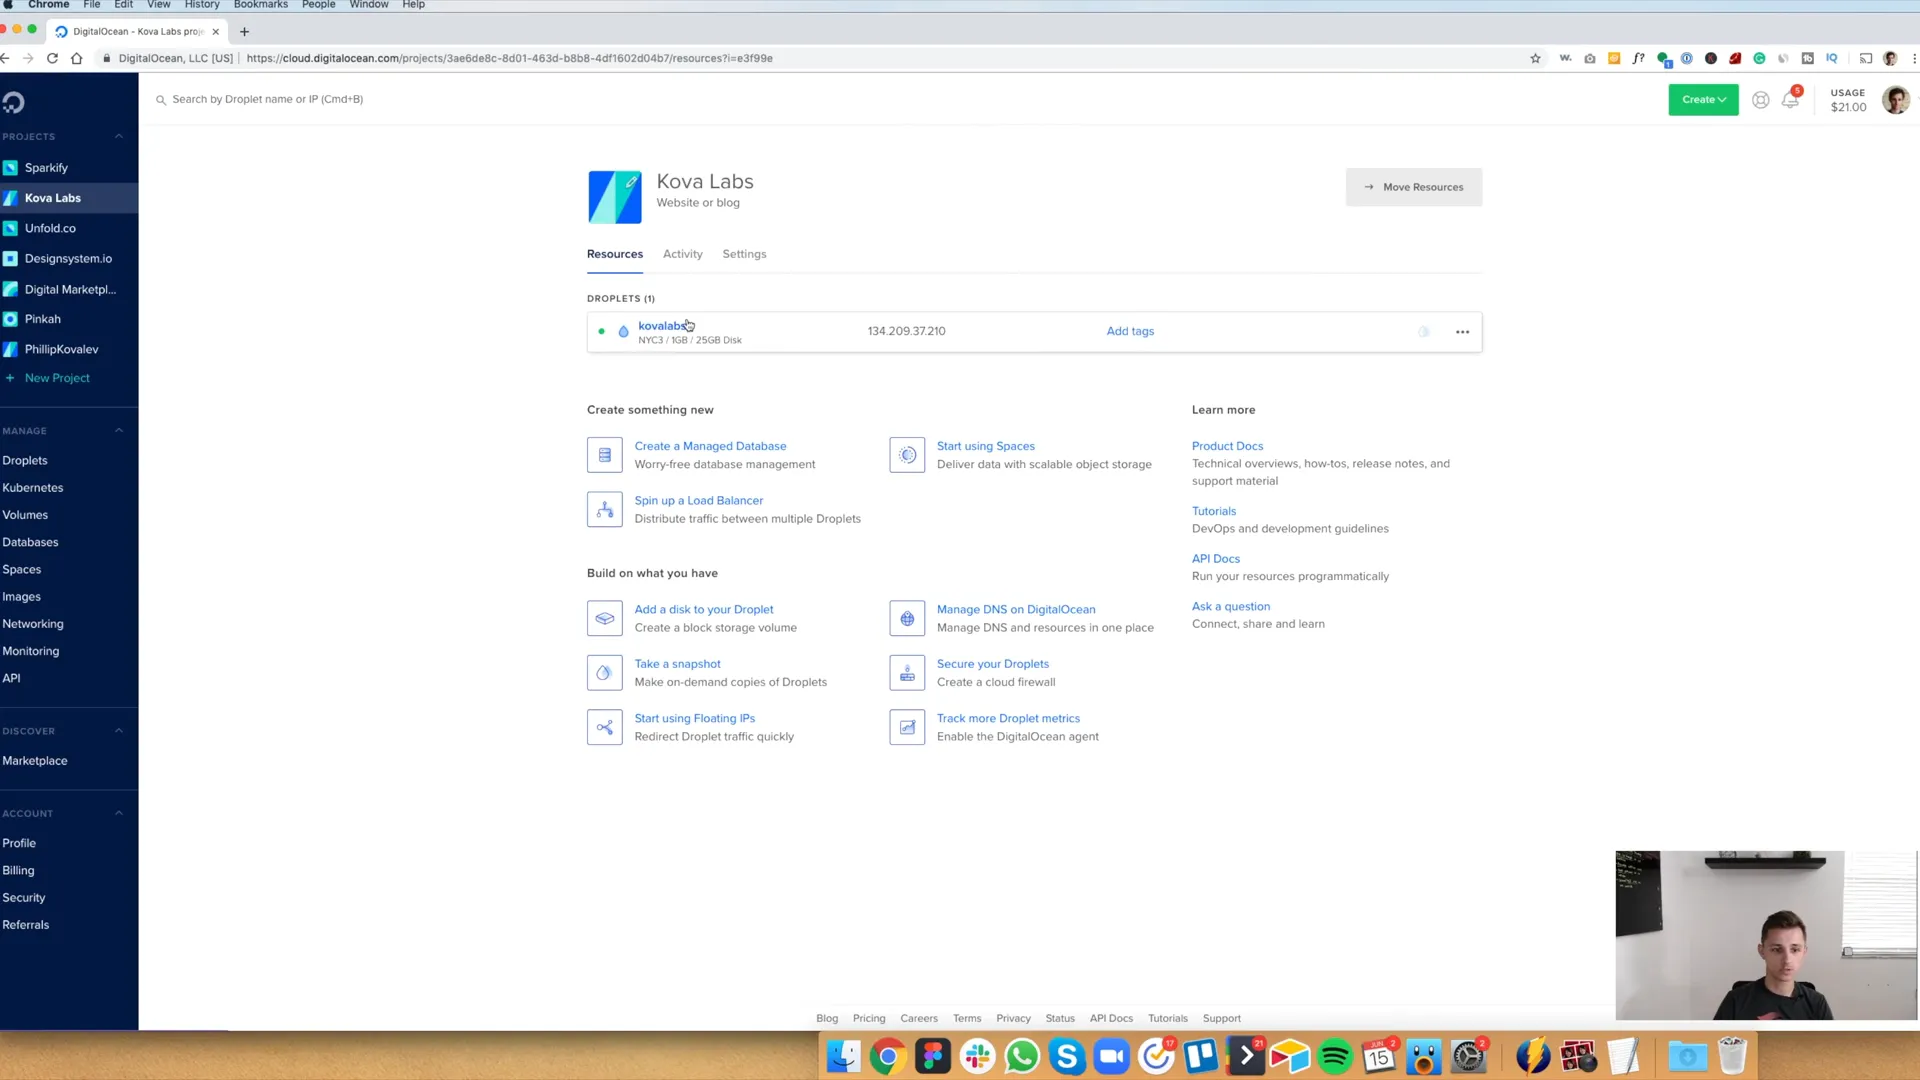
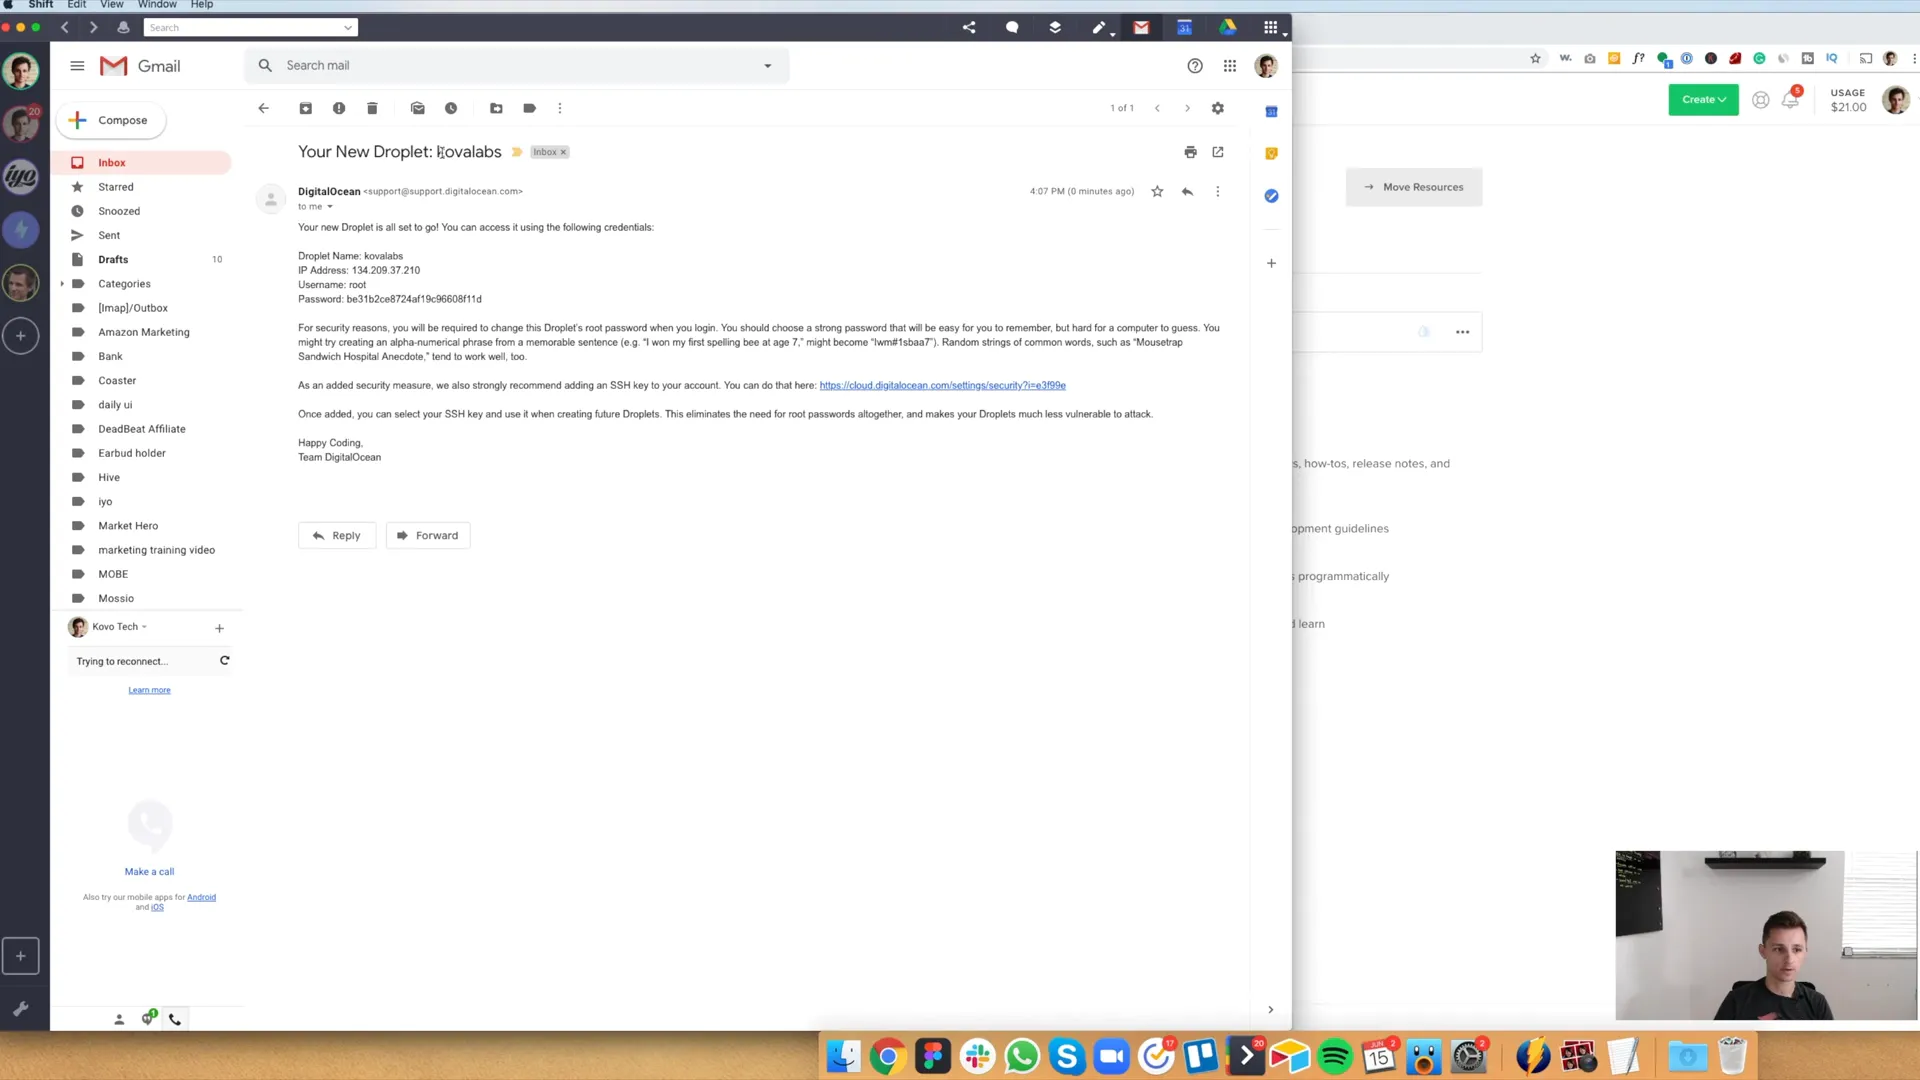
After a brief wait, your droplet will be created. You’ll receive an email containing important information like your username, password, and IP address. This information is crucial for logging into your server.
Logging Into Your Server
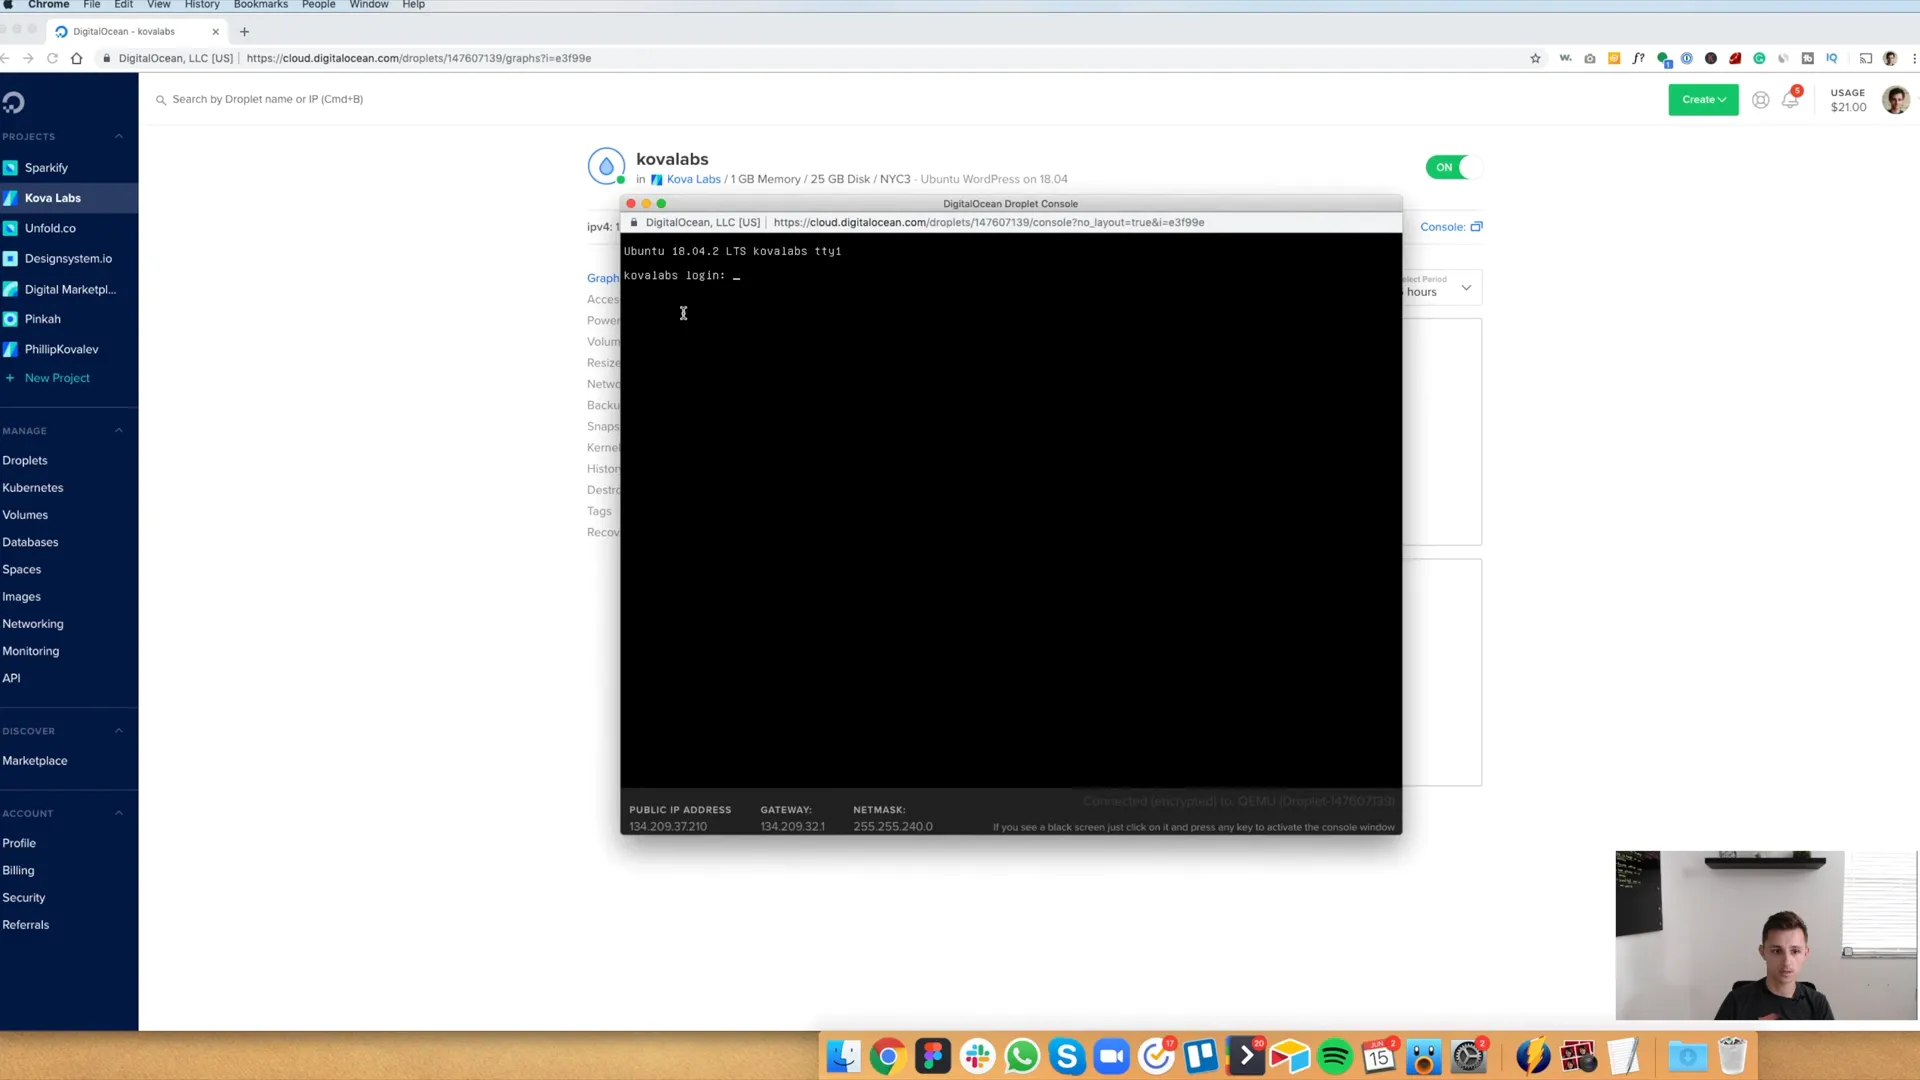
To log in, click on your droplet in the dashboard and use the built-in console. Enter the username “root” and your password that you copied from the email.
Setting Your Password
After logging in, you’ll be prompted to change your password. Follow the instructions on the screen.
Installing WordPress
Now that you’re logged in, it’s time to install WordPress. If you want to check if everything is set up correctly, copy your droplet’s IP address and paste it into a new browser tab. You should see a placeholder page indicating that WordPress is ready to be installed.
Finalizing the Installation
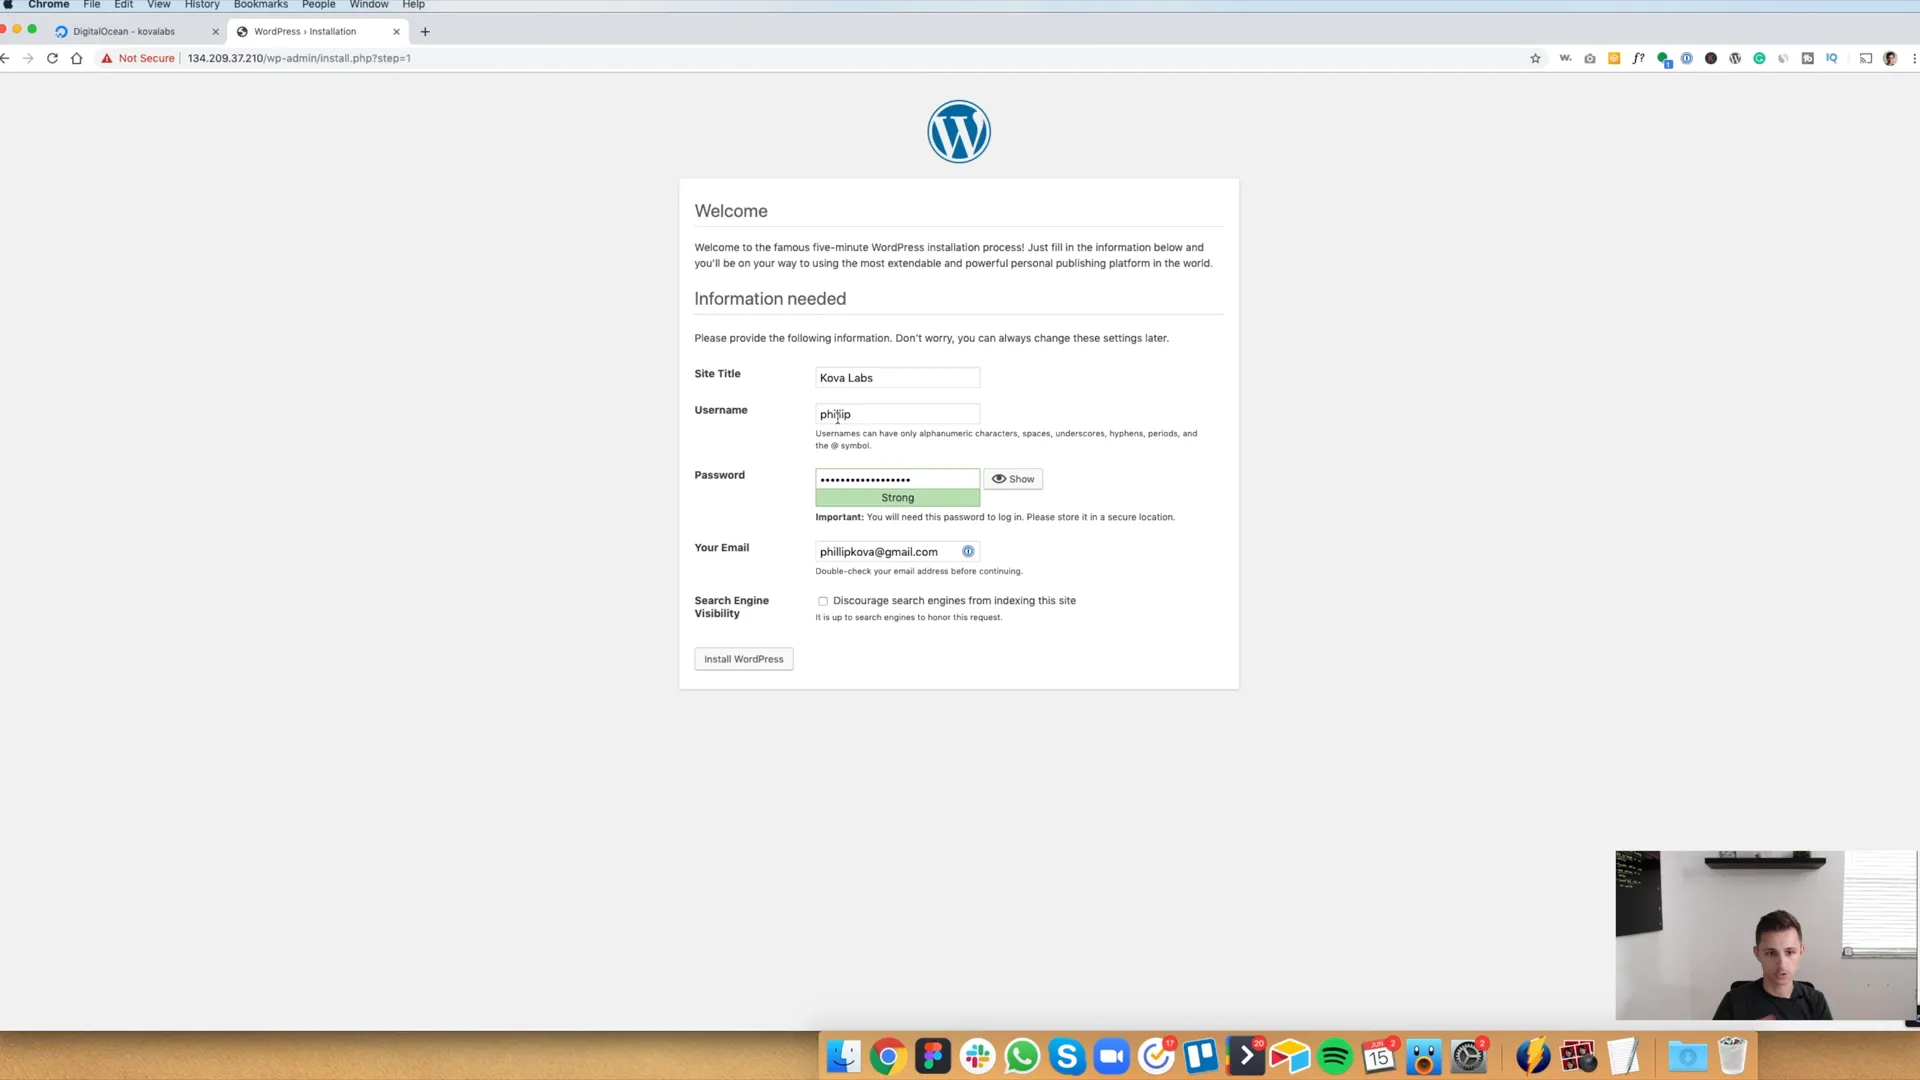
Fill out the necessary information for your WordPress installation, including your site name and admin details. Once everything is filled out, click “Install WordPress.”
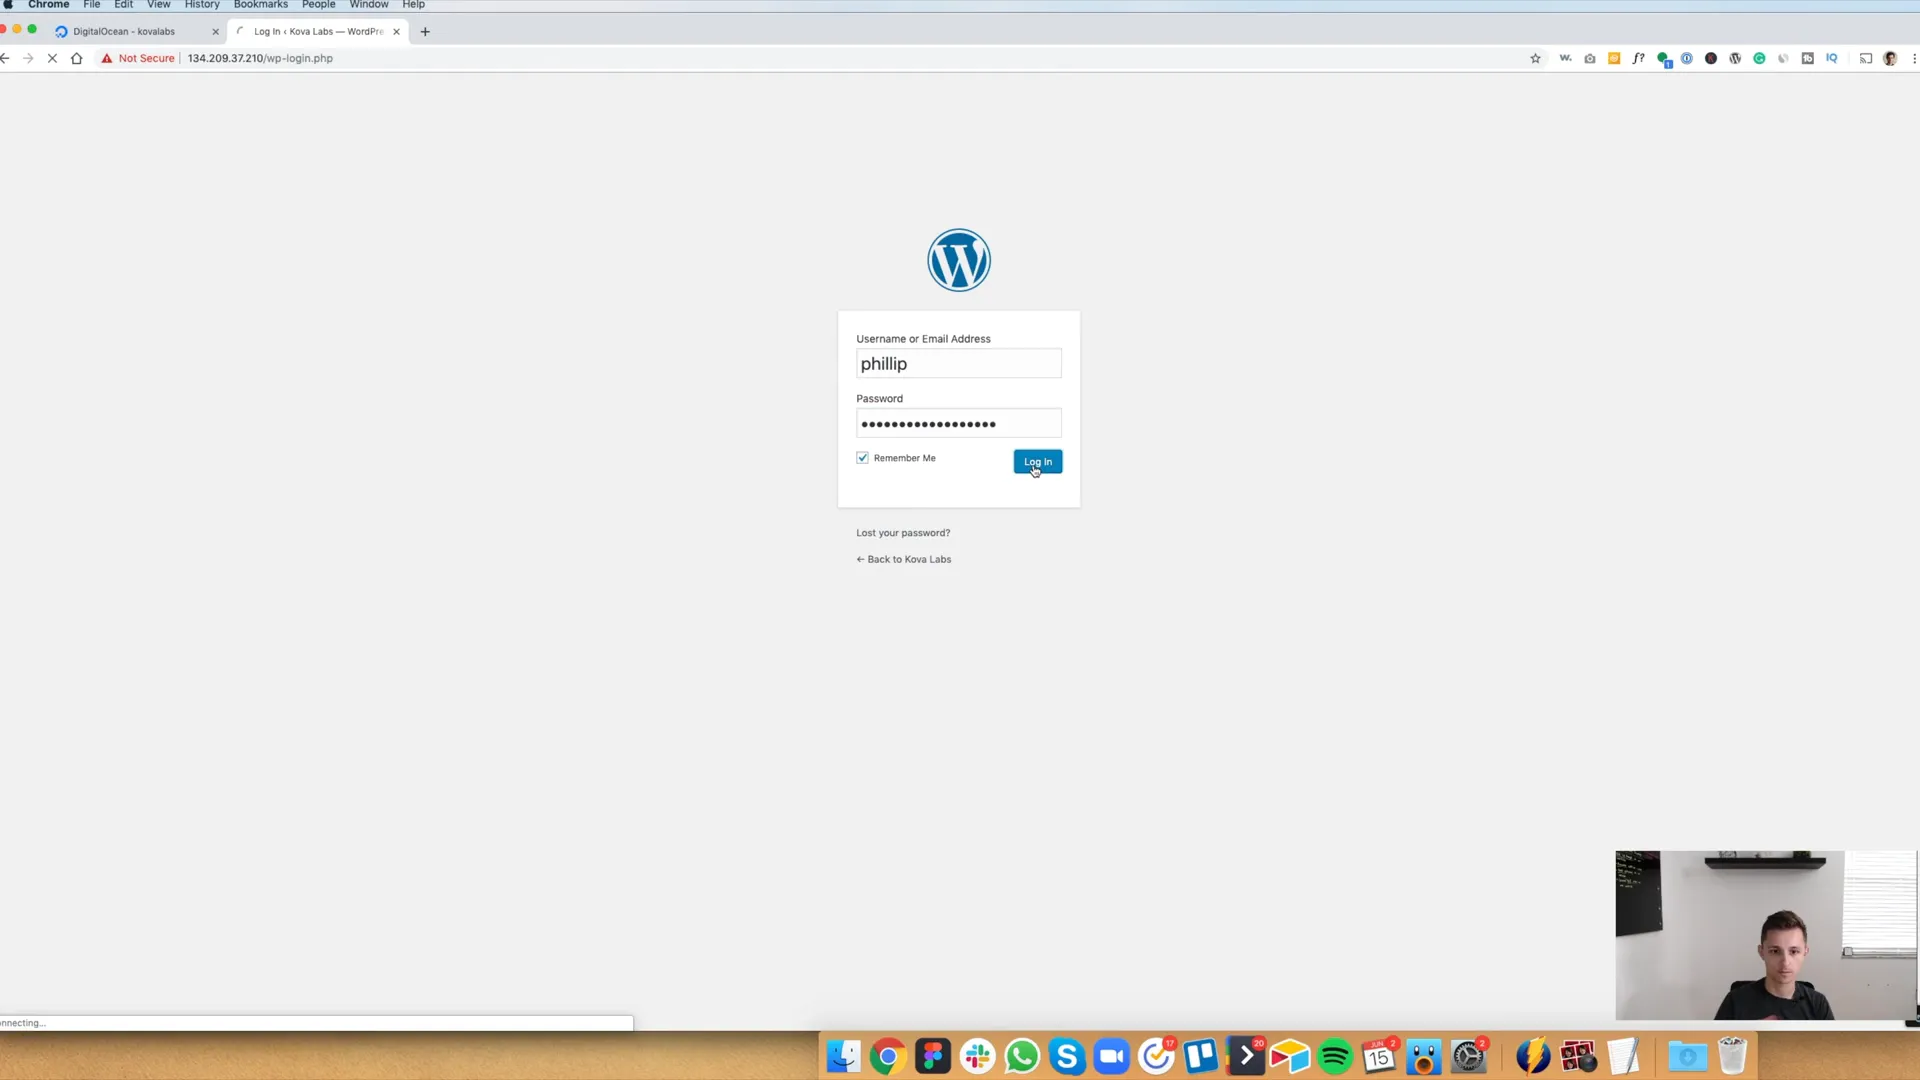
Logging Into WordPress Admin
After installation, click on the login button. Use the username and password you created during the setup process. Make sure to check the “Remember Me” box for convenience.
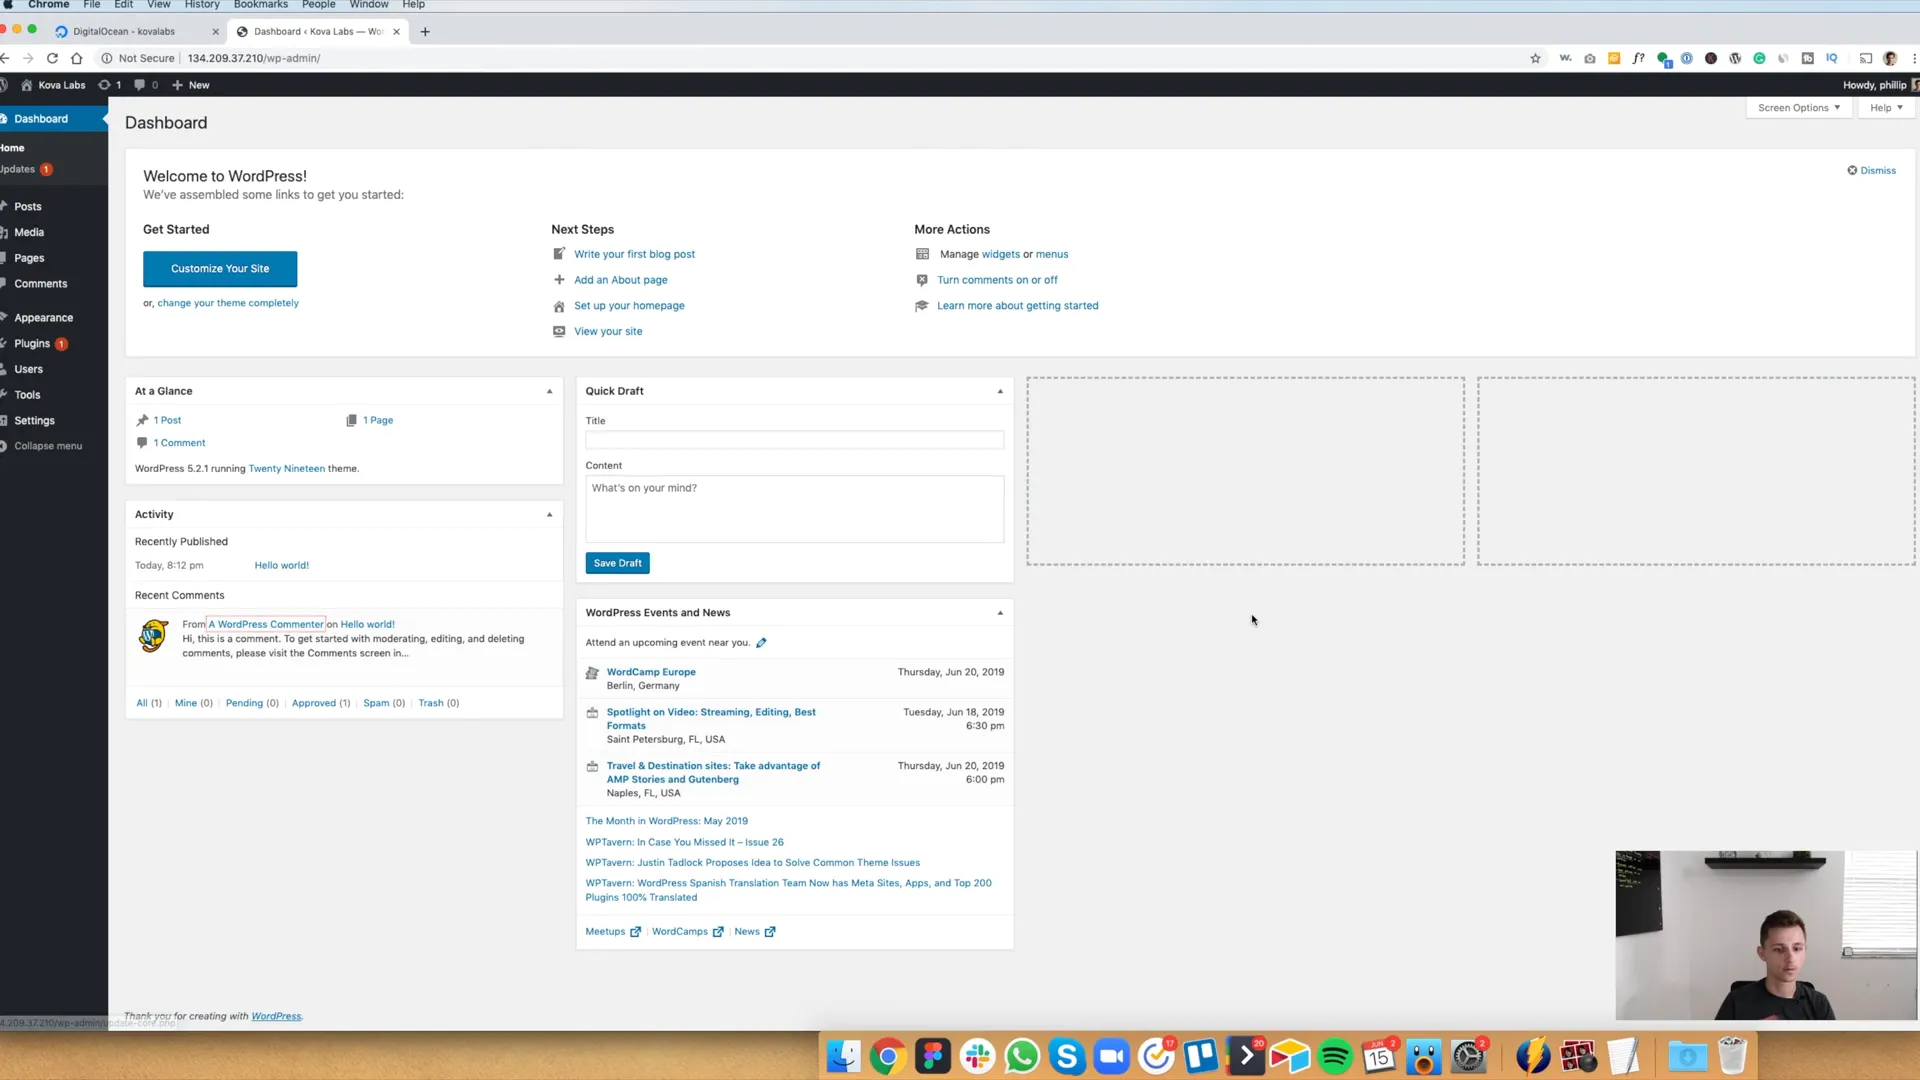
Connecting Your Domain
If you want to use a custom domain instead of the IP address, you’ll need to set that up next. In your project dashboard, click on the three dots next to your droplet and select “Add a Domain.” Enter your domain name and save it.
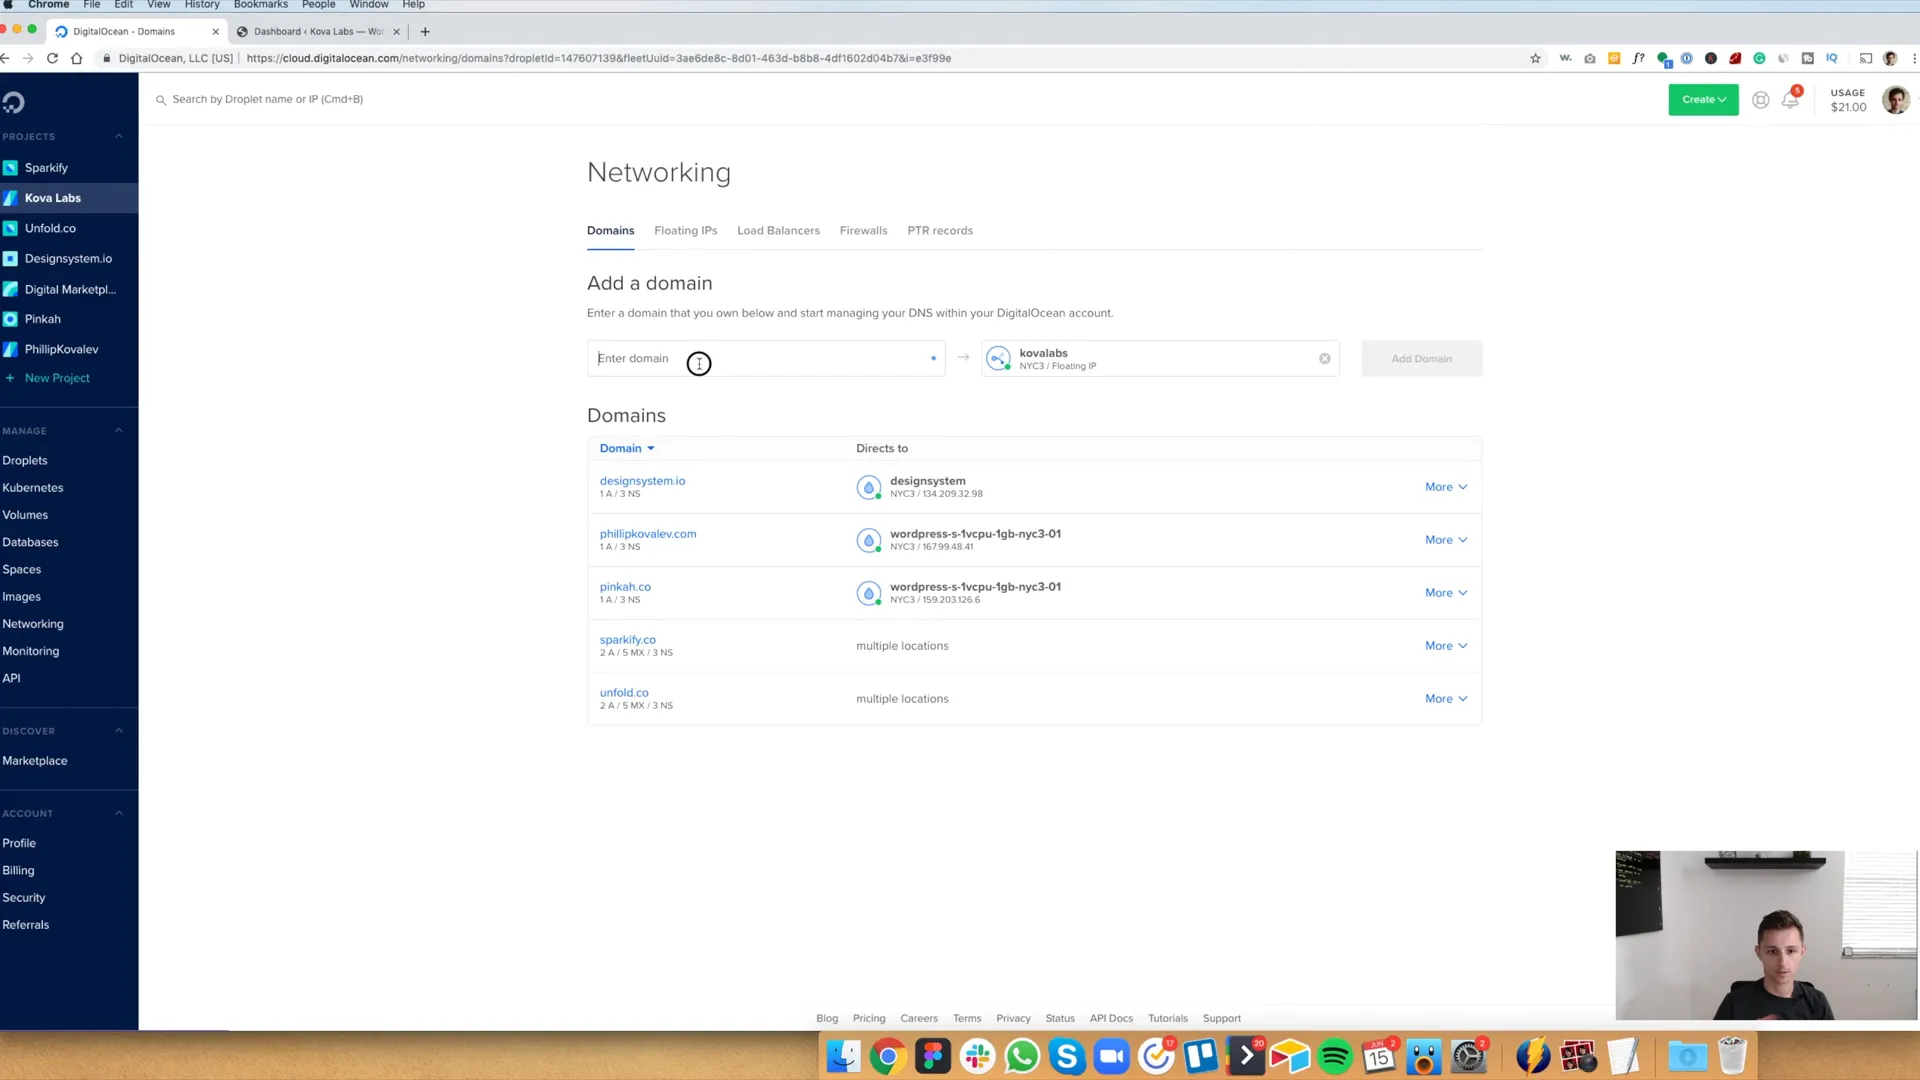
DNS Settings
To point your domain to your new droplet, you’ll need to update the DNS settings. Use the following DigitalOcean name servers:
- ns1.digitalocean.com
- ns2.digitalocean.com
- ns3.digitalocean.com
Update these in your domain registrar’s DNS settings. For example, if you’re using Google Domains, you can follow their instructions to do this easily.
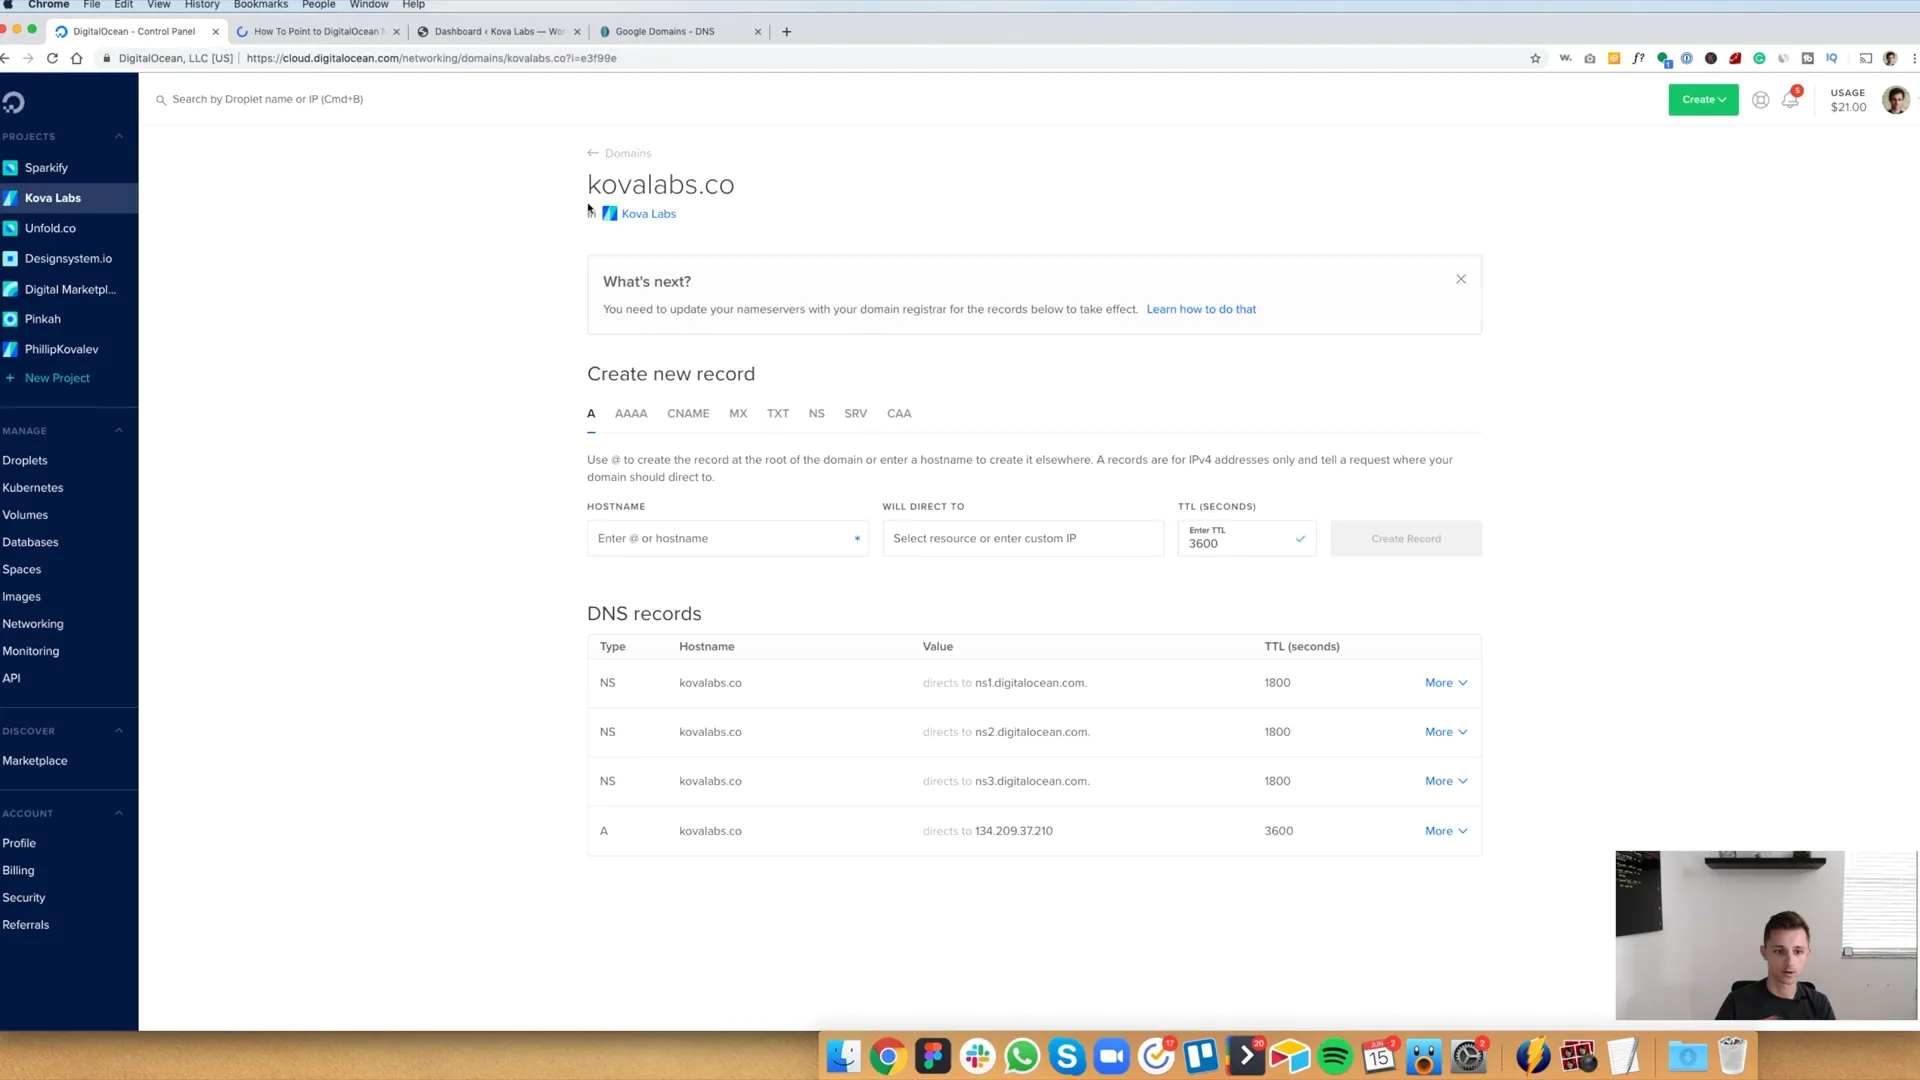
Final WordPress Configuration
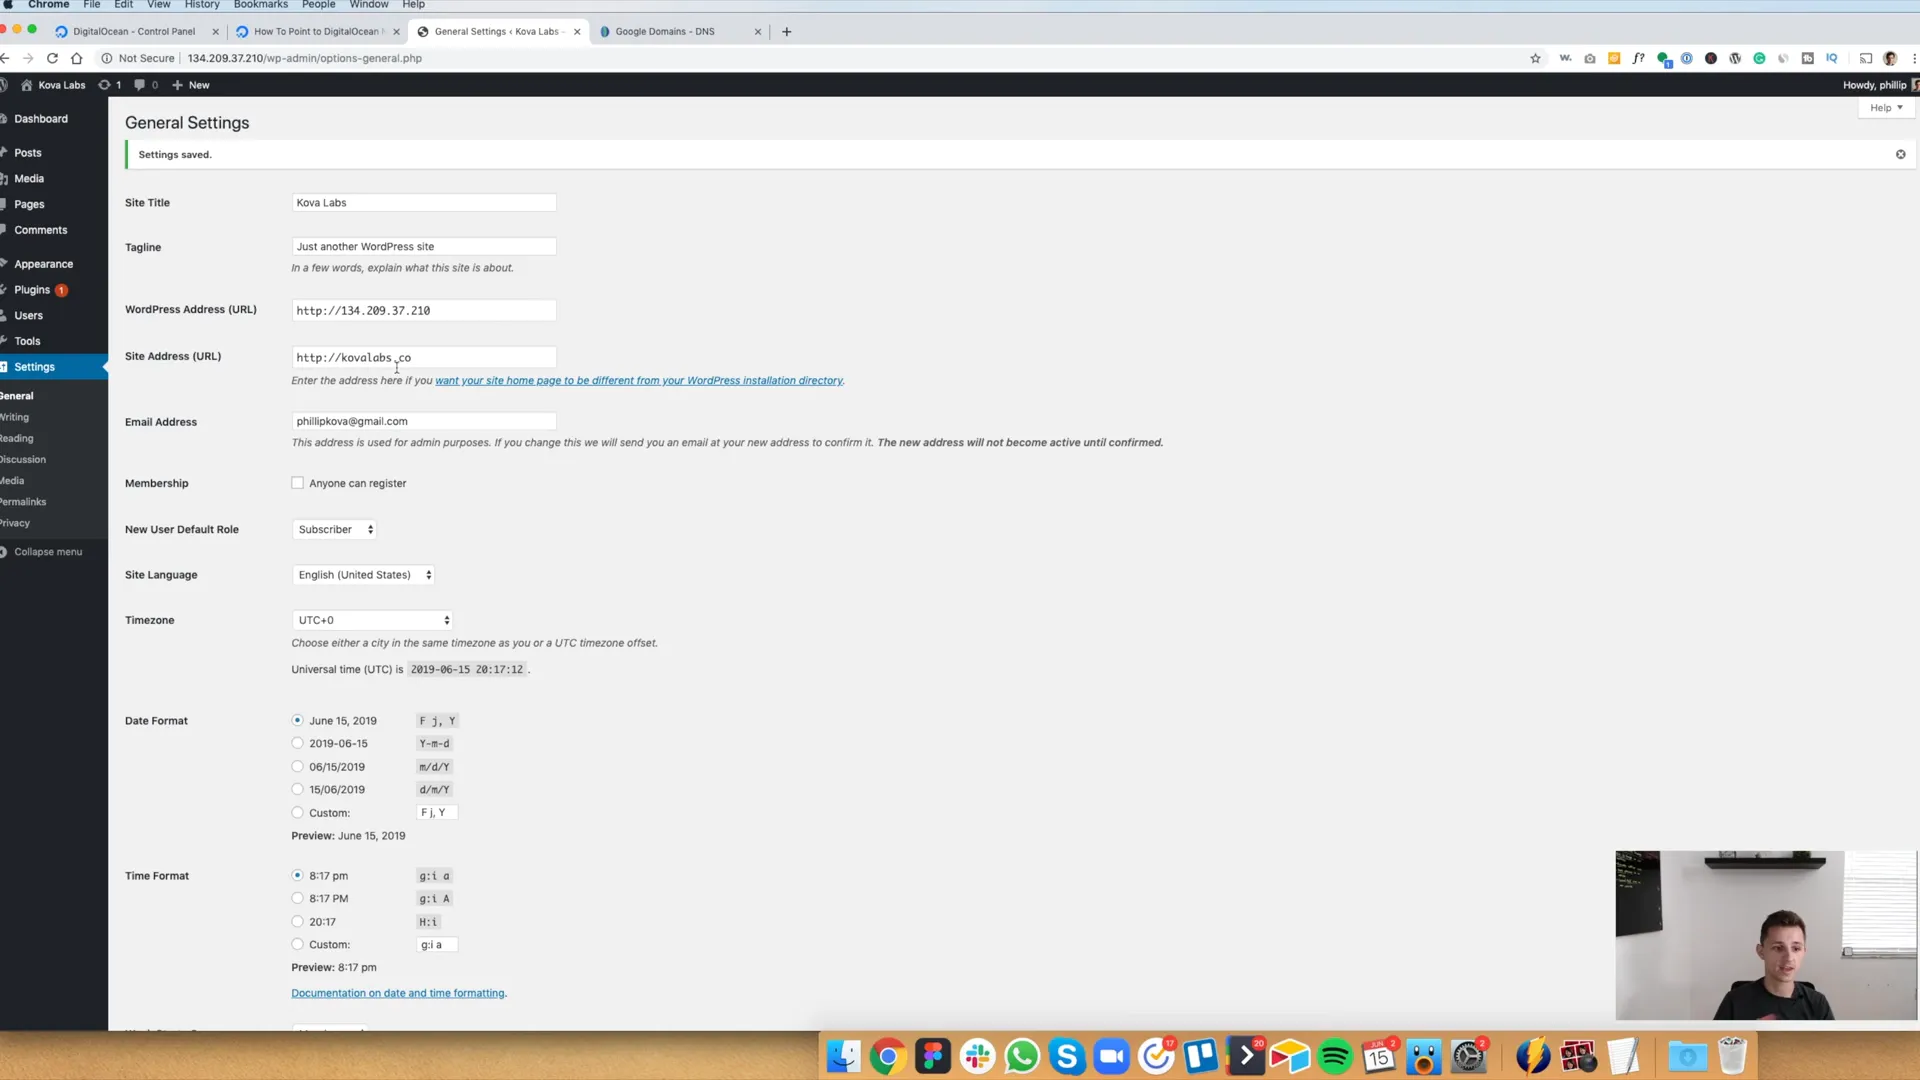
Once the DNS settings are updated, go back to your WordPress dashboard. Navigate to “Settings” and update your site address to reflect your new domain name instead of the IP address.
What’s Next?
After making these changes, it may take up to 24 hours for your domain to start resolving correctly. Once everything is set up, you’ll have a fully functional WordPress website hosted on DigitalOcean!
Conclusion
And there you have it! You’ve successfully installed WordPress on DigitalOcean using the One-Click Install feature. If this tutorial was helpful to you, please consider liking this post and subscribing for more tips and tricks on web technologies. Thanks for following along, and happy blogging!